I've been on a wall decor kick lately, and this project might be my favorite one yet. It's textured, quite cozy to make, and it turns a flat piece of cardstock into something that looks like it grew there on its own.
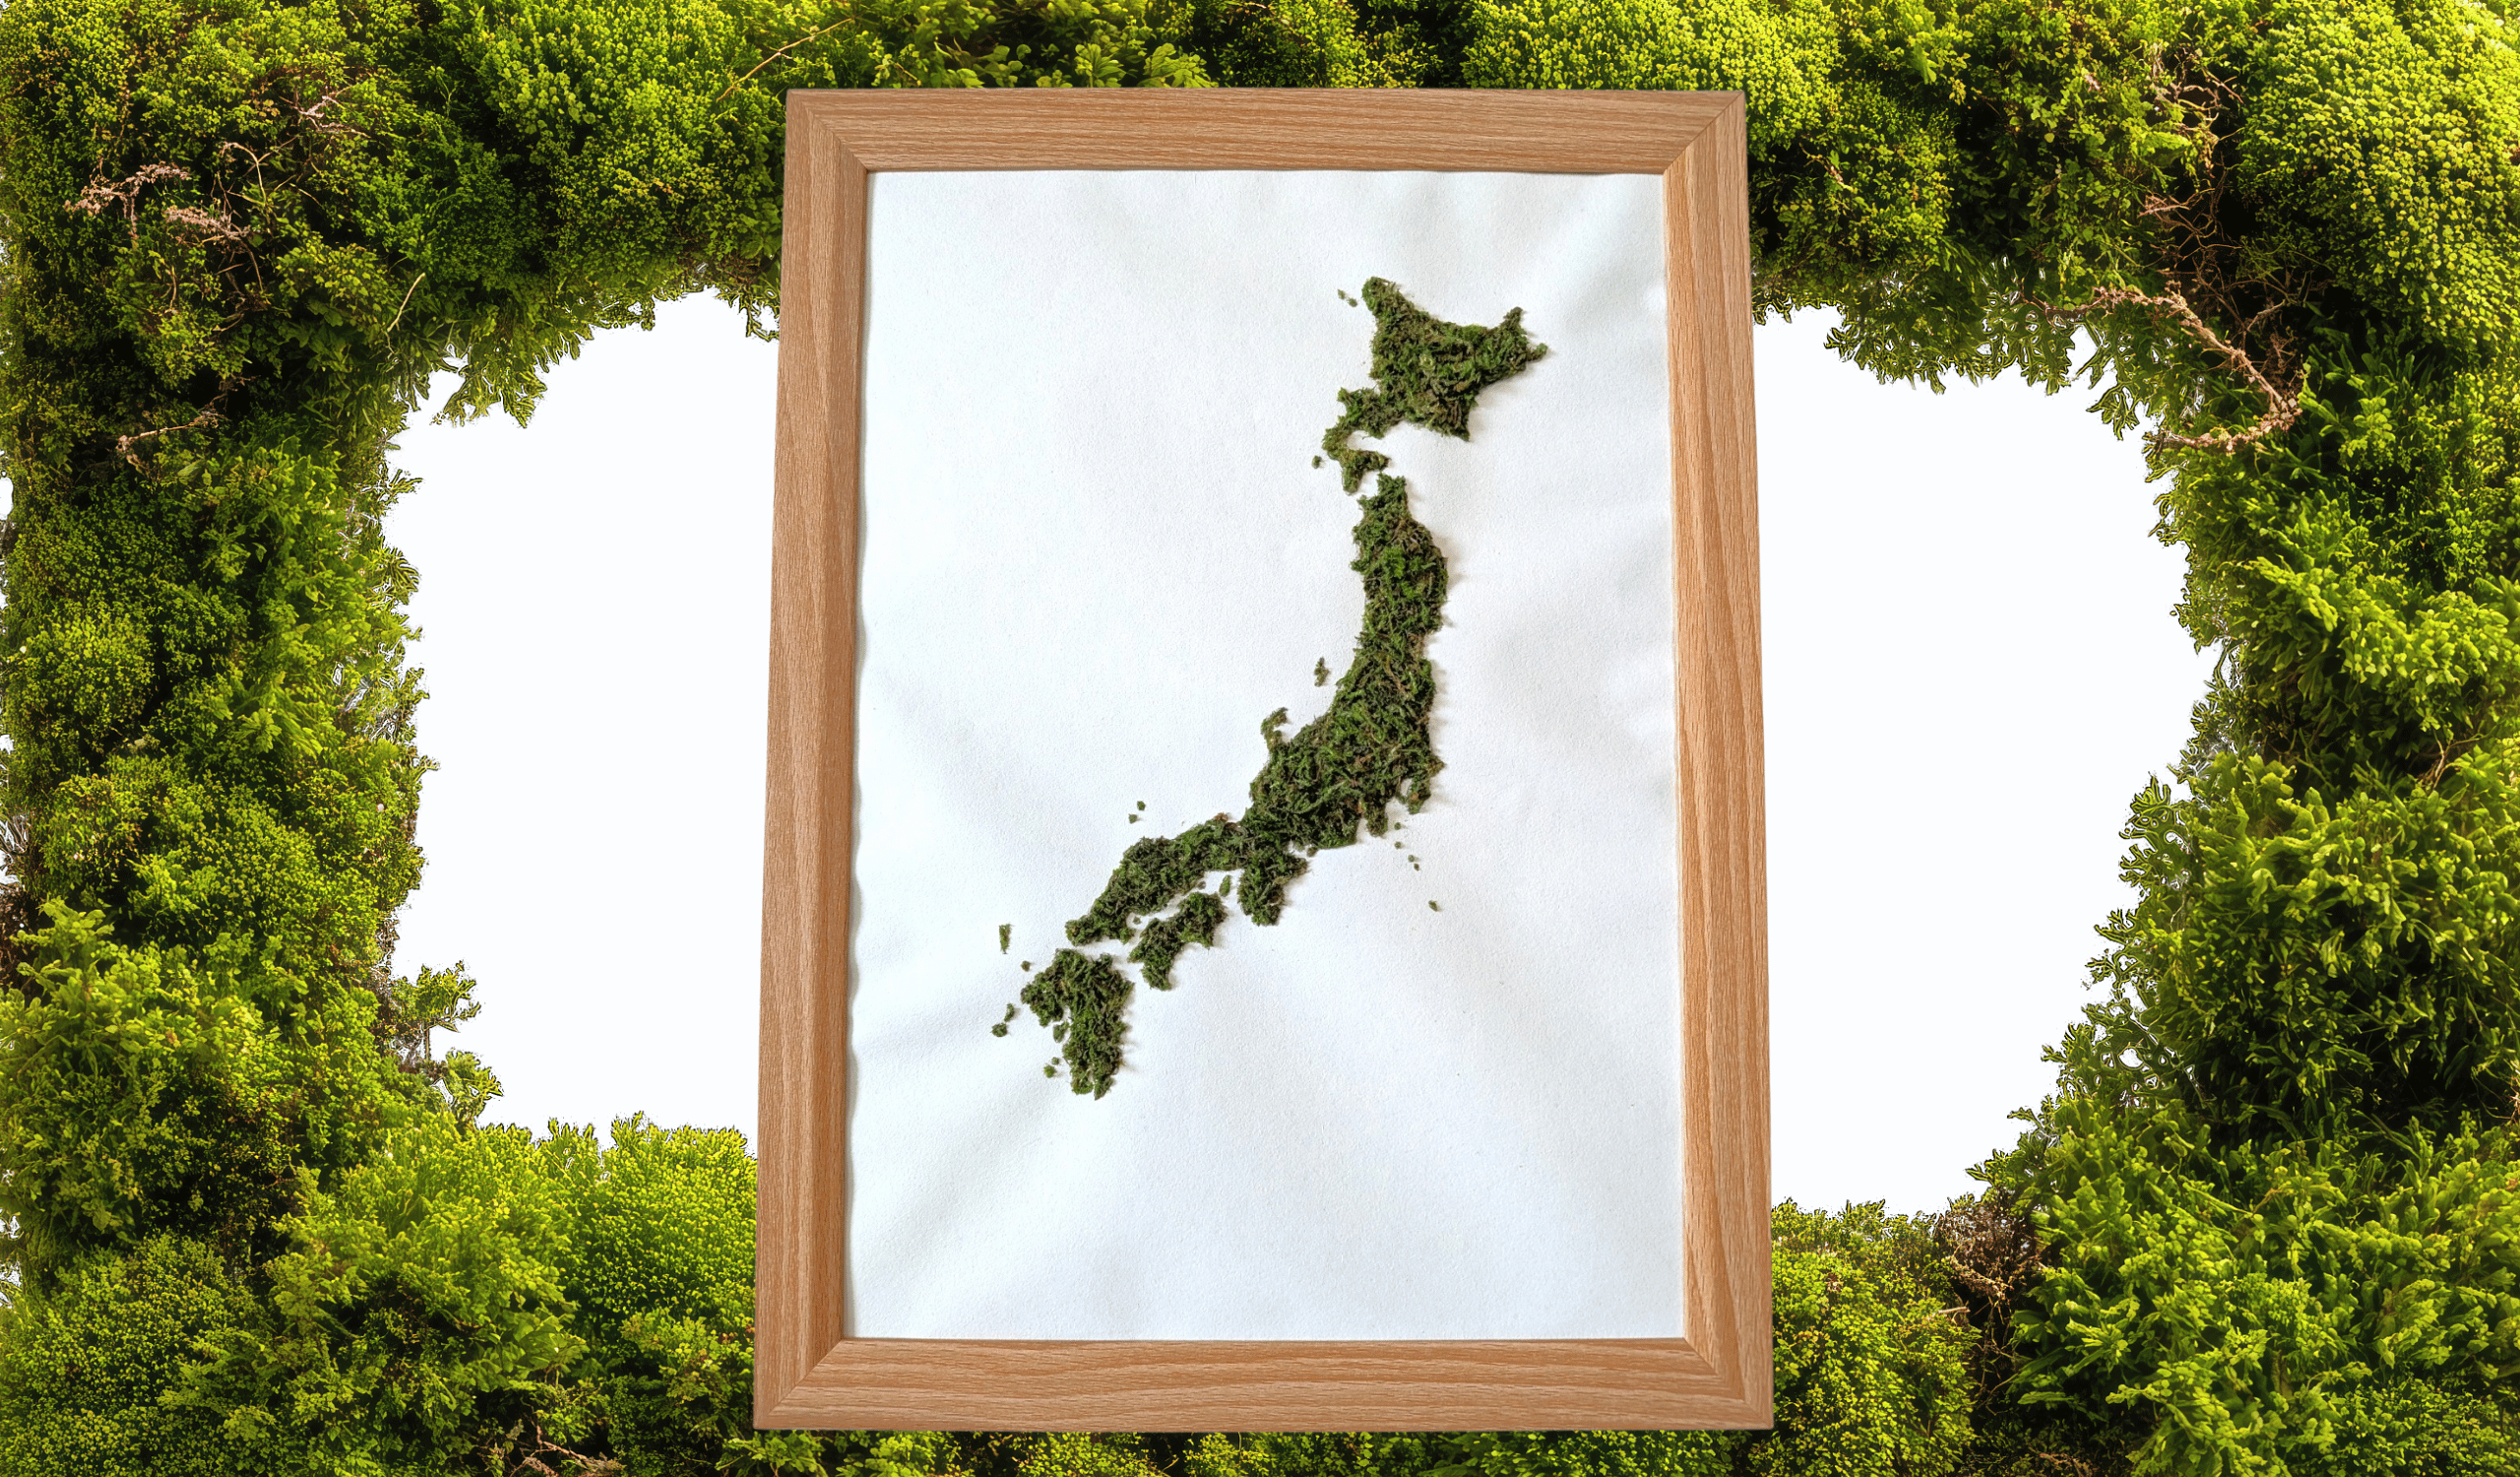
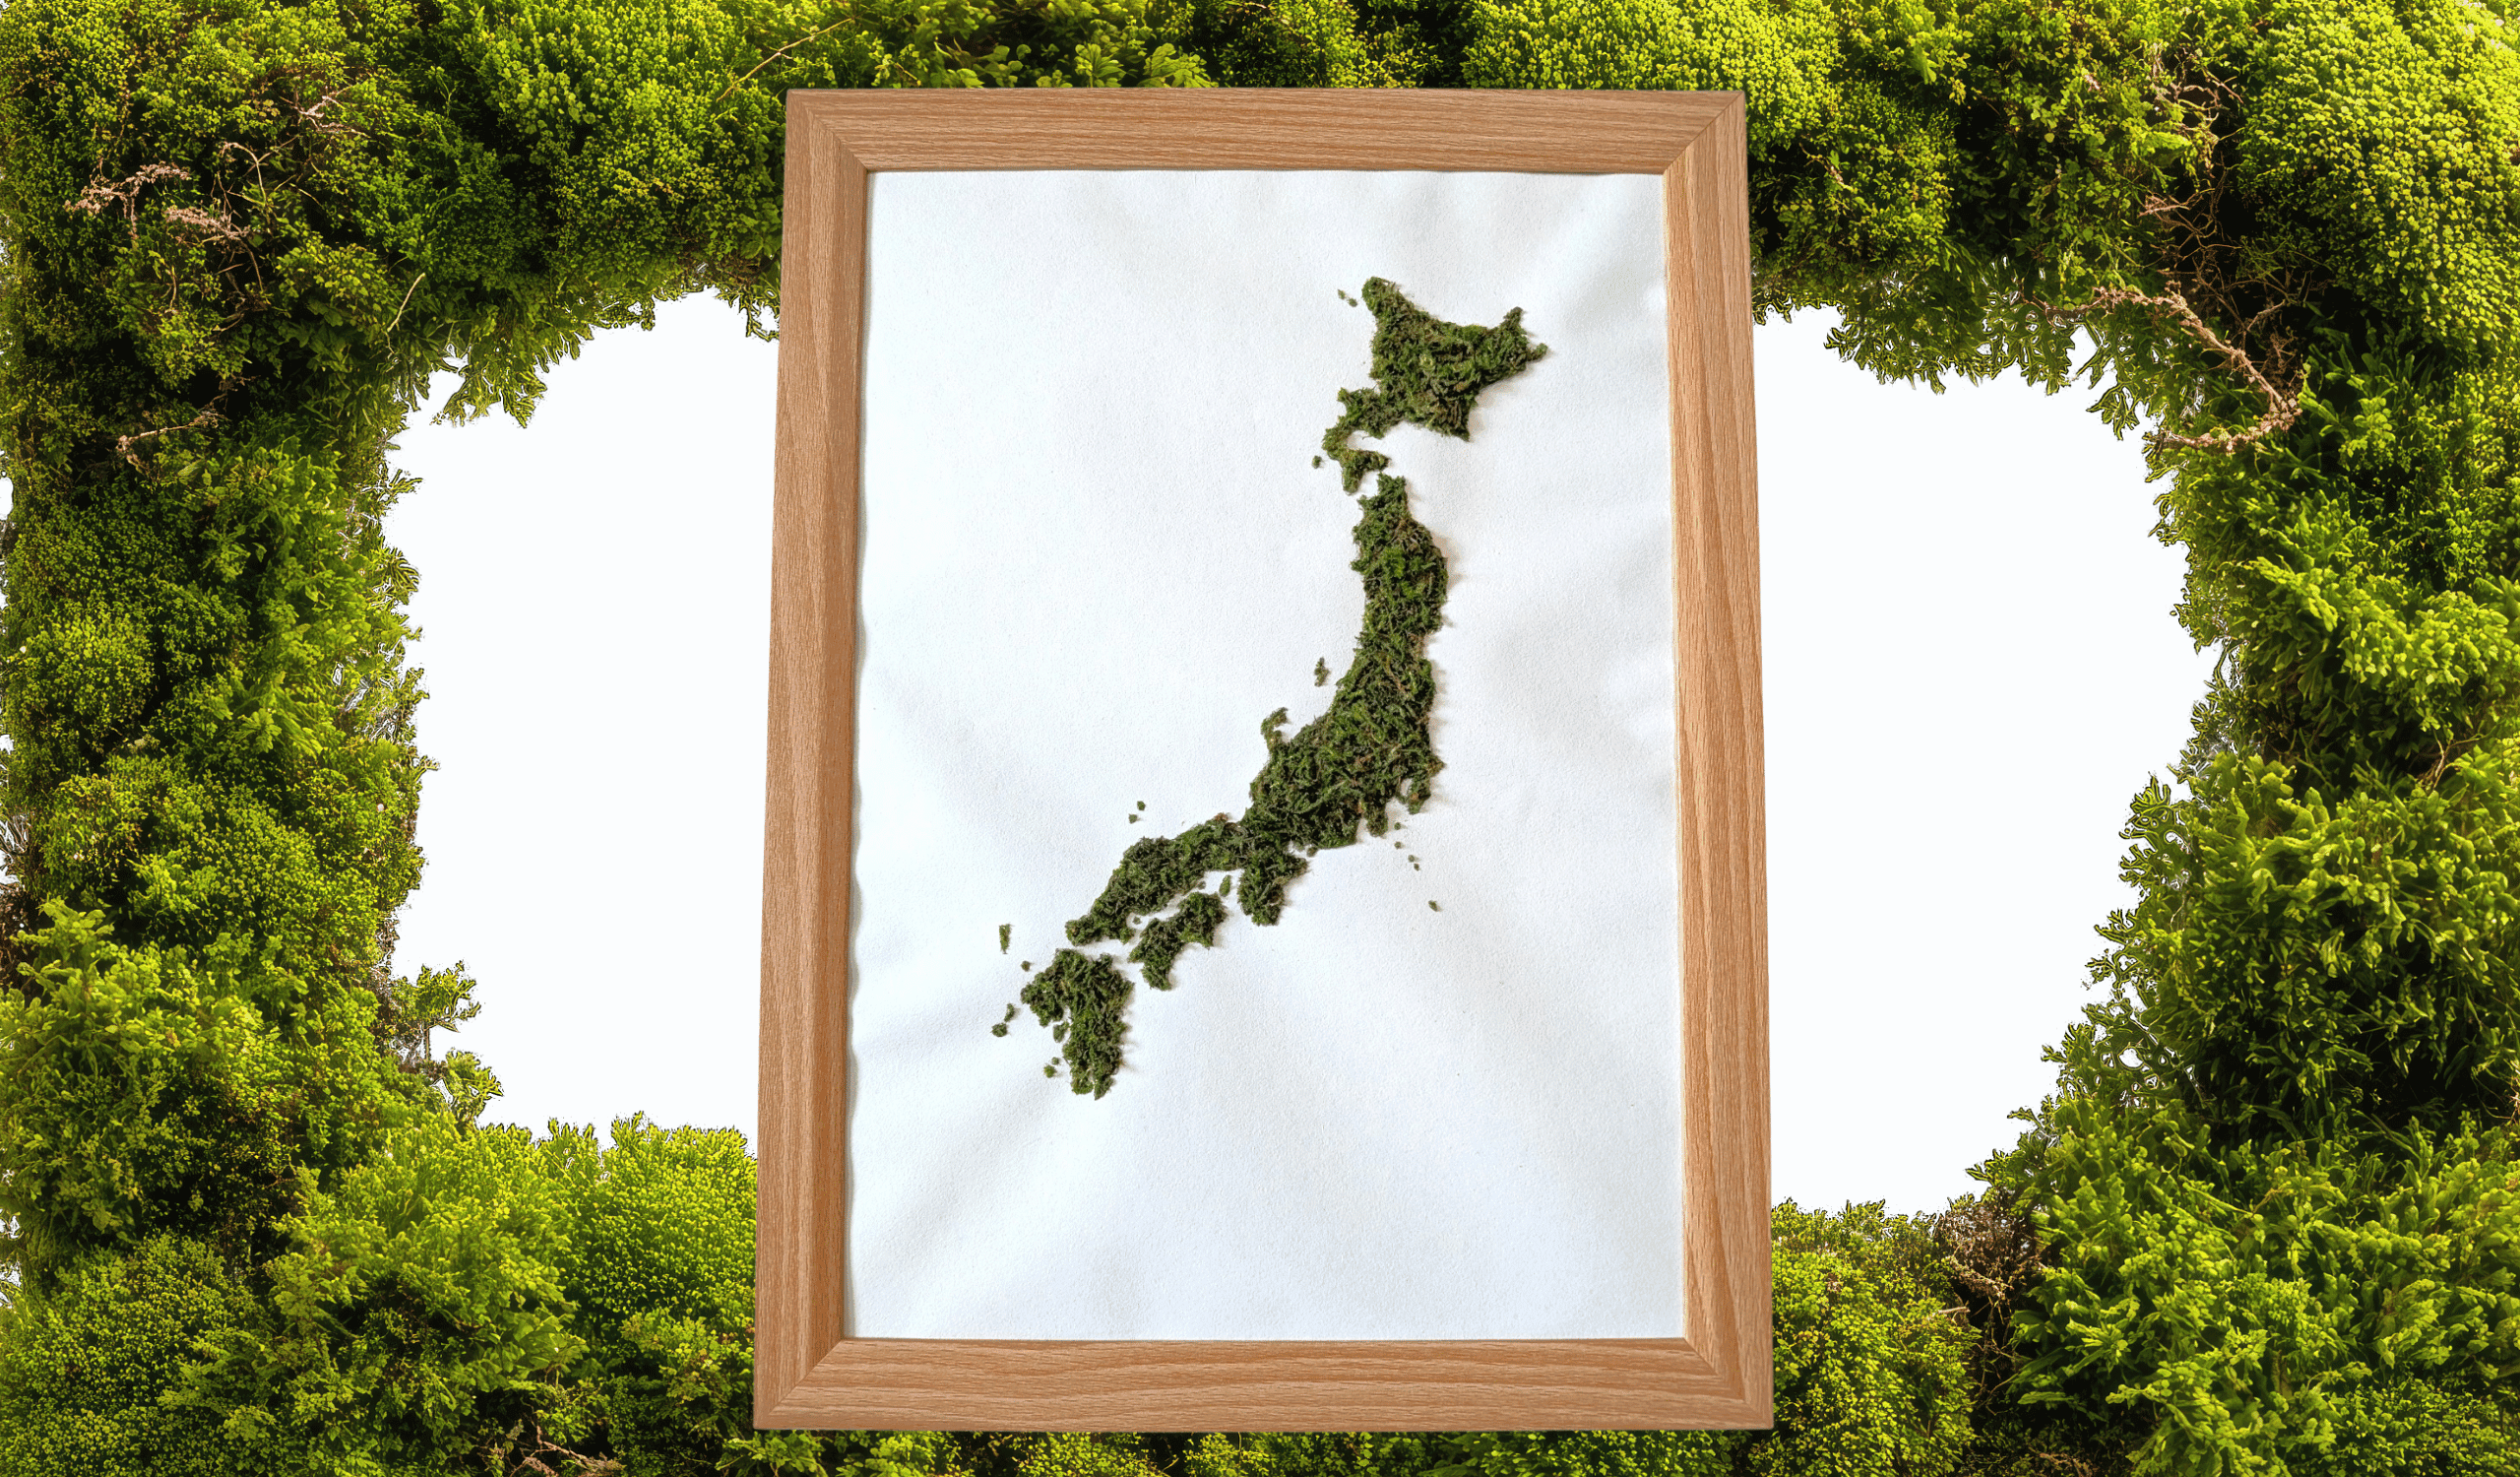
This one's a moss wall art piece shaped like a country map. I did Japan (minus Okinawa, sorry Okinawa), but you could do literally any country, coastline, or shape you're feeling nostalgic about or love.
Why Moss Wall Art Fits the Minimal Cottagecore Aesthetic
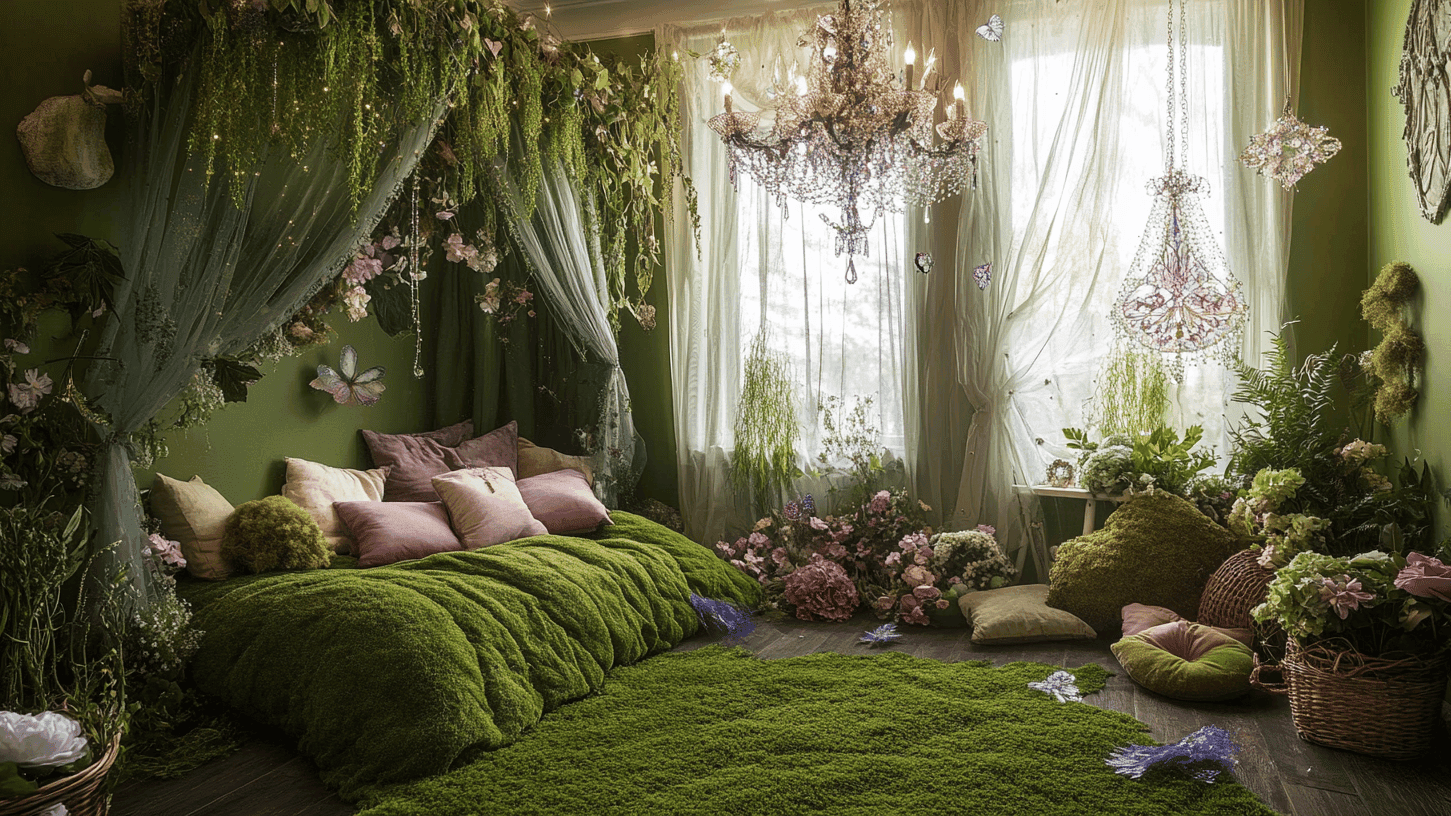
There's something about bringing texture like moss indoors that scratches that cottagecore itch. It's earthy, it's a little fantasy art coded, and it’s fun to make. If you've got a travel aesthetic moodboard going, a moss map of a place you've been (or dream of going) fits right in.
What You'll Need
Canvas or cardstock paper (any paper thicker than sketch paper)
Moss (I used natural moss)
A toothpick or a similar small tool
Washi tape
A printed outline of your design
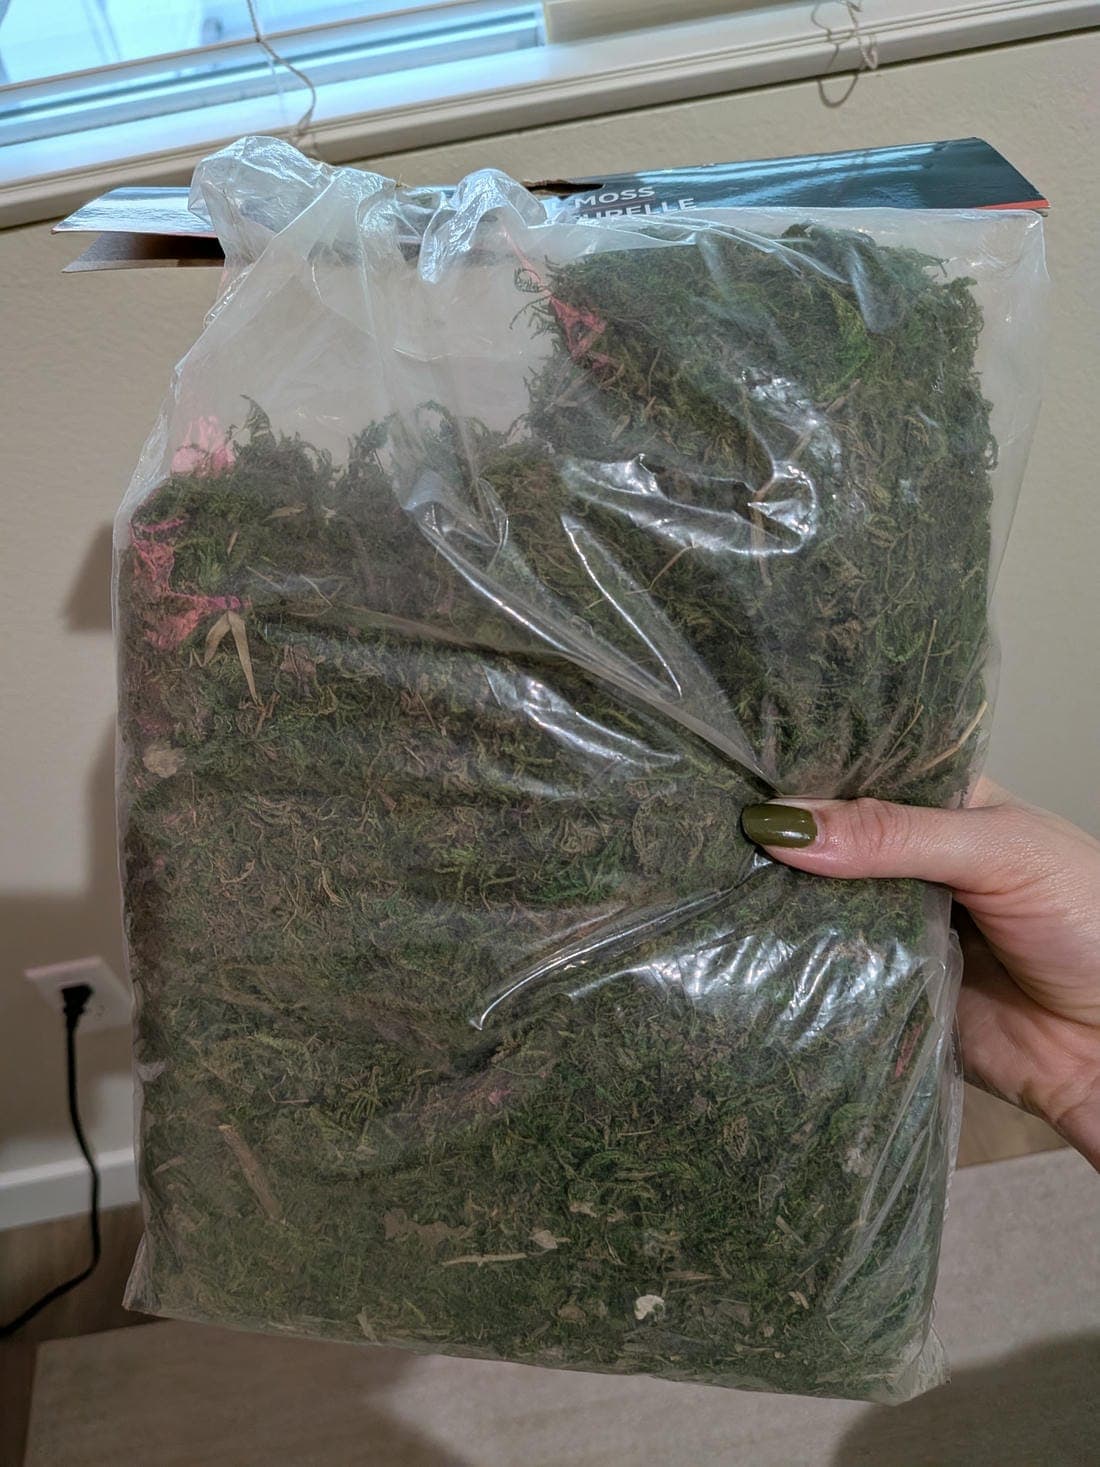
Where I Found My Moss
I had leftover natural moss from Party City during their Halloween merch sale. But moss is easily available in major craft stores, Amazon, etc. Preserved moss like this has already been treated, so it holds its color and texture without needing water or light, which is exactly why it works so well glued flat onto paper. The amount of moss you need is less than you think. My art piece is on 8x11 letter-size paper, and I only used a handful of moss. Of course, this will differ depending on the size of your paper or canvas.
Step-by-Step: Building Your Moss Map
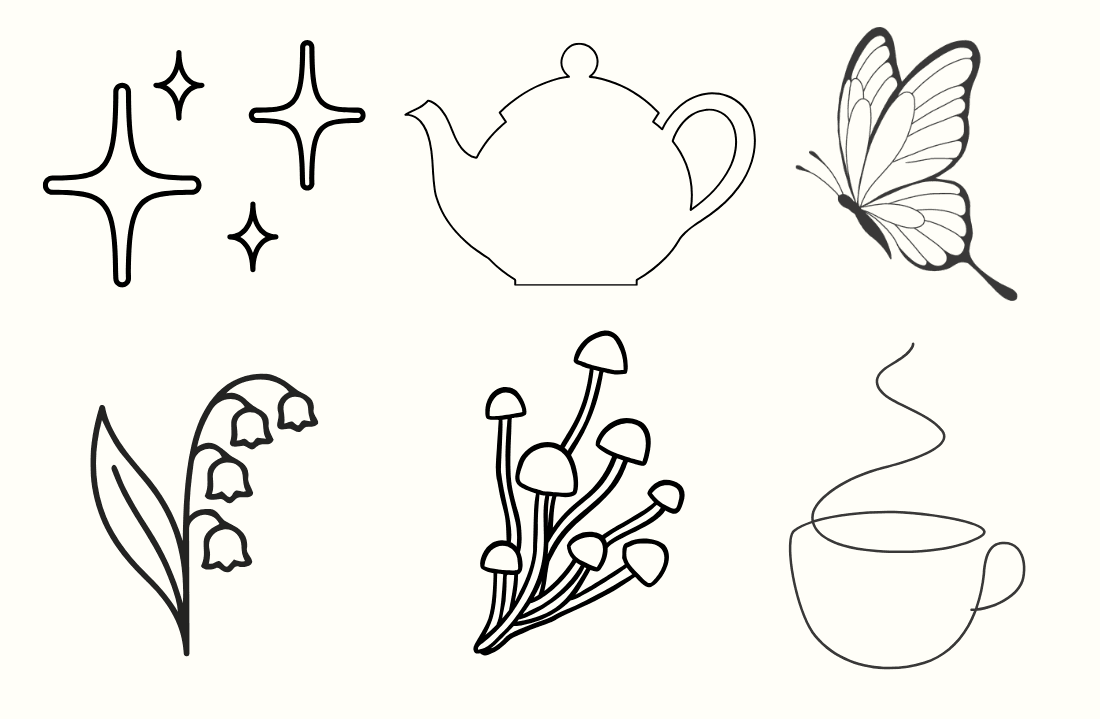
Step 1: Choose Your Outline Design
I used Canva to find the image of my country's shape. Then I hit up my local public library to print it for free. If you have your own printer that can handle cardstock, feel free to skip step 2. If you're doing a bigger piece your printer can't handle, I'd suggest using a projector instead, like this video explaining the projector method.
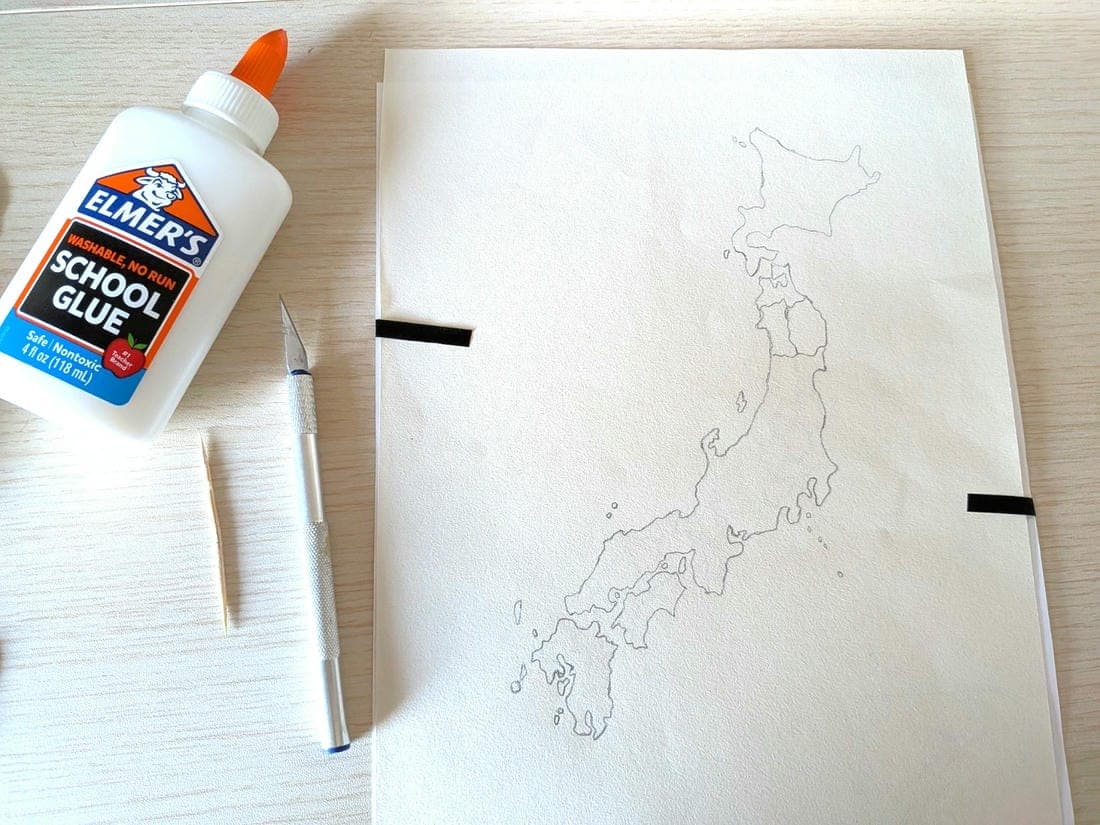
Step 2: Set Up Your Tracing Station
Using washi tape, I taped the printout underneath my sketch paper so I could trace the shape through it. The easiest way to see the lines clearly was to hold my phone underneath with the flashlight on. Instant lightbox.
Step 3: Fill In With Moss
Grab your toothpick, spread some glue on it, and start filling in the traced shape with moss. I like to sprinkle moss first, let it settle, then shake off any unglued pieces. To fill in gaps, I like to crush my moss into smaller pieces and then use my toothpick to place it in the right areas, making sure it doesn’t go past the design outline.
Make sure to add your glue in thin layers. Too much glue and the weight will crinkle your paper, which is also why thick cardstock matters here. The thin stuff will warp on you. I used sketch paper for mine, not cardstock, so if you look closely, you can see a little warping.
Step 4: Hang It Up
Once it's completely dry, fill in any open spaces you missed. Then add a frame and hang it on your wall to admire. For mine, I used a very affordable frame from Daiso, only about $5.
Lessons I Learned the Messy Way
A few things I wish I knew before I started:
If you see stray moss specks stuck to the paper, wipe them off right away. There's probably glue residue under them, and they'll dry in place. If it's already too late, an exacto knife can carefully scratch it off.
If freshly glued pieces keep sliding around as you add more moss nearby, just pause and let the glue set a bit before continuing.
Spread your moss out on top of a sheet of paper while you work. Makes cleanup so much easier.
Keep fans and AC vents away from your workspace! Even laughing can be enough to blow it all away 😂. Moss is shockingly easy to blow away mid-project.
Fun Add-Ons to Make It Yours
Once your base moss map is filled in, you can keep going:
Add Pressed flowers (the tiny kind used in nail art work great here)
A little glitter for extra whimsy
A pin marking the capital city (like these cute rustic wood ones)
Final Thoughts
When I first started this, I was worried that all the moss pieces would fall off or that it would be extremely hard to keep the moss within the design boundaries. But it was the opposite; it was surprisingly easy to add the moss in the right places, and also a relaxing and cozy activity! I loved how this moss art piece came out, and I’d highly recommend trying this out. You can make any 2D design into moss art. I chose Japan because it's one of my favorite countries to visit, and I wanted travel art that would blend with my minimal cottagecore aesthetic home. Moss is a great way to add nature and cottagecore vibes to your home.