Here’s a fun, easy craft to whimsify your home. It’s perfect for personalizing your space or just having a cozy staycation day in.
Why I Started Making Clay Push Pins
This project started because I wanted more whimsy in my life and had the urge to create something with my hands.
My go-to is usually diy clay earrings, but I wanted to change it up. Naturally, I thought of push pins. Turns out the process is basically the same as making stud earrings, just with a different backing.
Materials & Supplies
You’ll need:
Push pins or nails
Air-dry clay or polymer clay
Acrylic paint or pastels
Parchment paper
Clay shaping tools (I like a rolling pin, needle tool, and exacto knife)
Adhesive (I used a Gorilla Glue pen)
Optional Extras
Graph paper
Pencil
Step One: Choose Your Pins or Pin Alternates
First, decide what kind of pin you want to work with. There’s more to this than it sounds.

Think about how far you want your design to stand out. I used a variety of pin shapes, some of which you can actually see the head peeking out from the sides. If you want your design to fully cover the pin, look for ones with a flat head instead of the classic spool-shaped head.
Another multi-use option is to use flat pad earring posts instead of regular pins. That way, you can wear your design as earrings or use it as a decorative push pin. Just know this is the pricier route, especially if you’re using sterling silver posts.
I’ve also used nickel-plated steel furniture nails, picked up from Lowe’s for under $3 for 25 pieces. I chose nickel-plated ones because they can handle the oven temperatures needed for polymer clay. If you want to skip glue entirely and just wrap your clay around the pin head so nothing shows, these nails (or something similar) are the way to go.
 From left to right: furniture nail, earring post, regular push pin, furniture nail.
If using polymer clay, make sure to pick a pin/nail that is oven-safe. If you’re not sure, it's better to stick with air-dry clay or make a design that only needs to be glued on to the pin after being baked.
Step Two: Make Your Design
This is the fun part. Have fun creating your clay art however you like, but here are a few tips that helped me.

Start by making a stencil. Unless you have clay cutters on hand, draw your design on paper first. I like using graph paper so I can keep things symmetrical. Draw one half of the design, fold the paper, and cut both sides at once.
Once your stencil is ready, roll out your clay with a rolling pin and cut around the stencil shape. Keep shaping until you’re happy with it.
Unless you’re fully wrapping the clay around the head of the pin, here are a couple of tips for the back of your piece:
Make one side flat. That’s the part that will be glued to the pin.
For extra hold, press the pin into the back of the clay to create a small indentation before baking. This gives the glue more surface to grip later.
Once you’re satisfied, bake according to your clay’s instructions. I used FIMO soft clay, placing it on parchment paper, and baked it at 230°F for 30 minutes.
After the piece cools, you can paint and then glaze it. You can also skip that step and glue the pin straight to the back. Let it dry for several hours before handling. And that’s it, your custom push pin is ready!
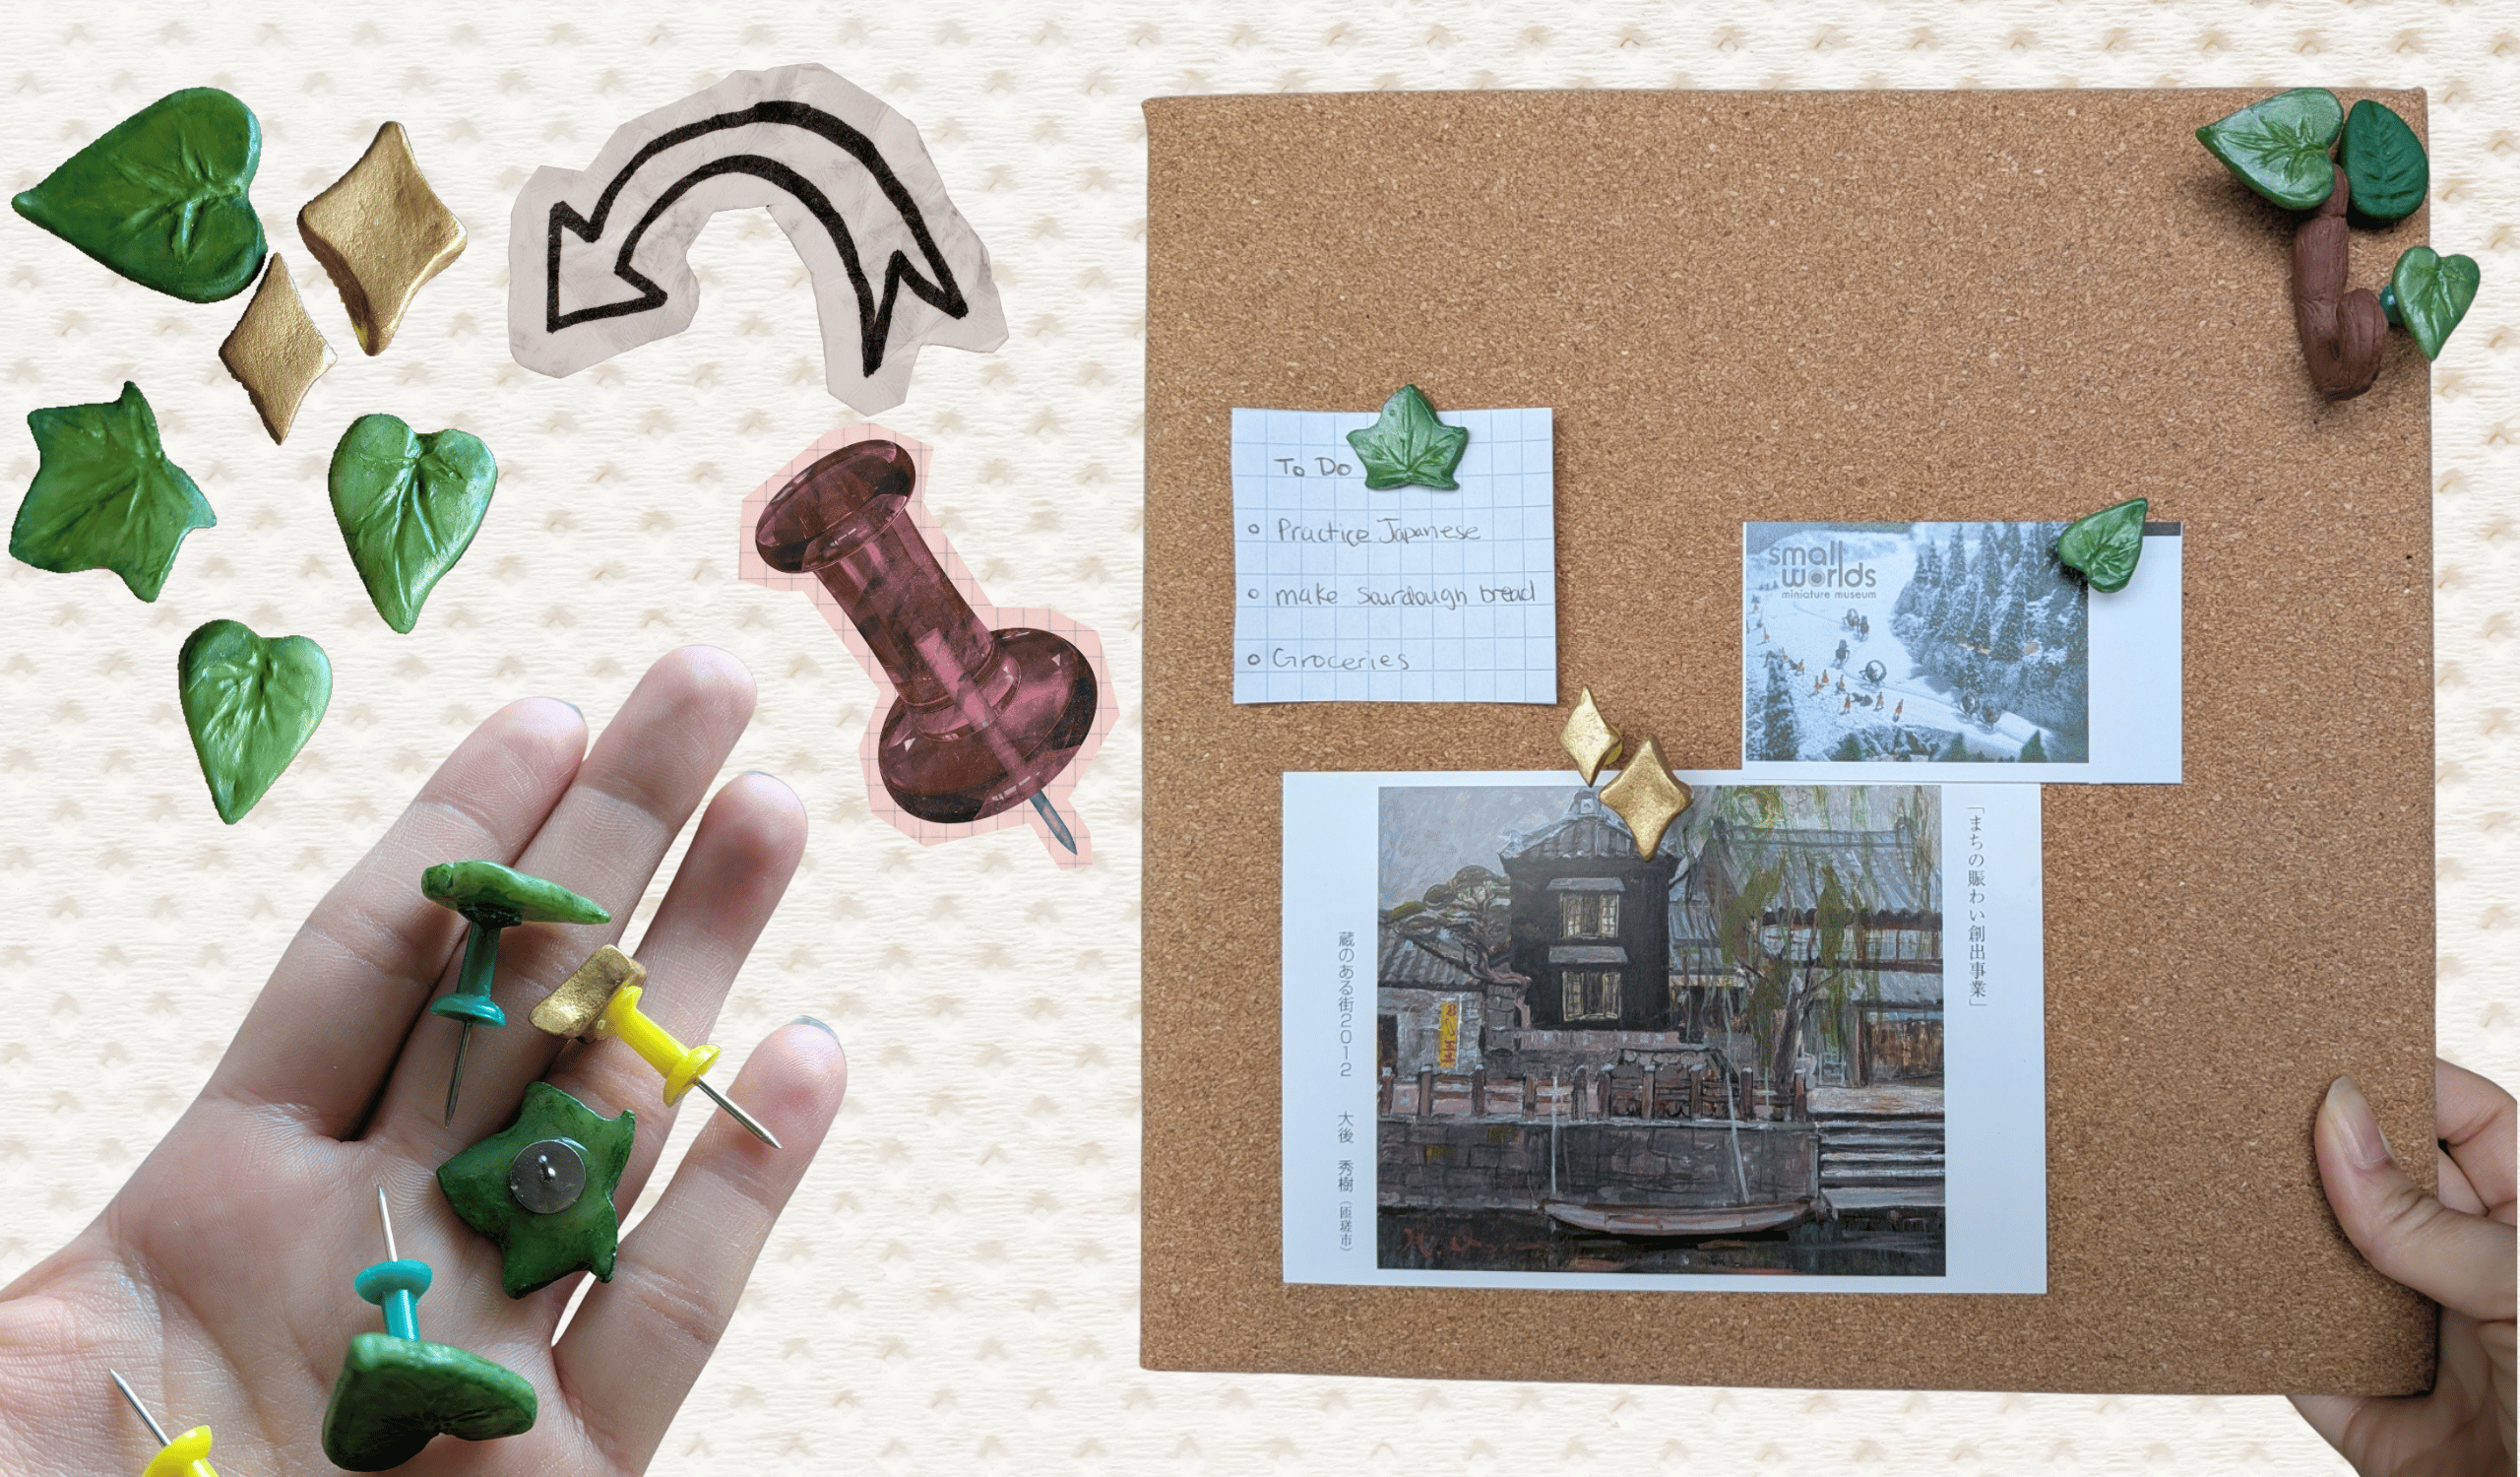
Step Three: Display Your Pins
Now for the best part, actually using them.
A budget-friendly way to display your pins is with a cork bulletin board from Dollar Tree. Mine came with several push pins already and had its own hanging strap. The soft cork also makes it easy to swap pins in and out whenever the mood strikes.

Here are my finished pins. I even attempted a hook pin shaped like a tree branch, using aluminium foil inside as a filler, so as not to use too much clay. Now I’m debating whether to make a whole separate board just for my earring collection.
Final Thoughts
As much as hunting for cute pins is a fun activity in itself, there's always that moment when you've scrolled through everything, and nothing is quite right. Too chunky, too plain, too not-you. Making your own means you never have to settle for whatever happens to be on the shelf right now. Your aesthetic, your rules. I hope this inspires you to make something that feels completely yours. Happy whimsy crafting!

