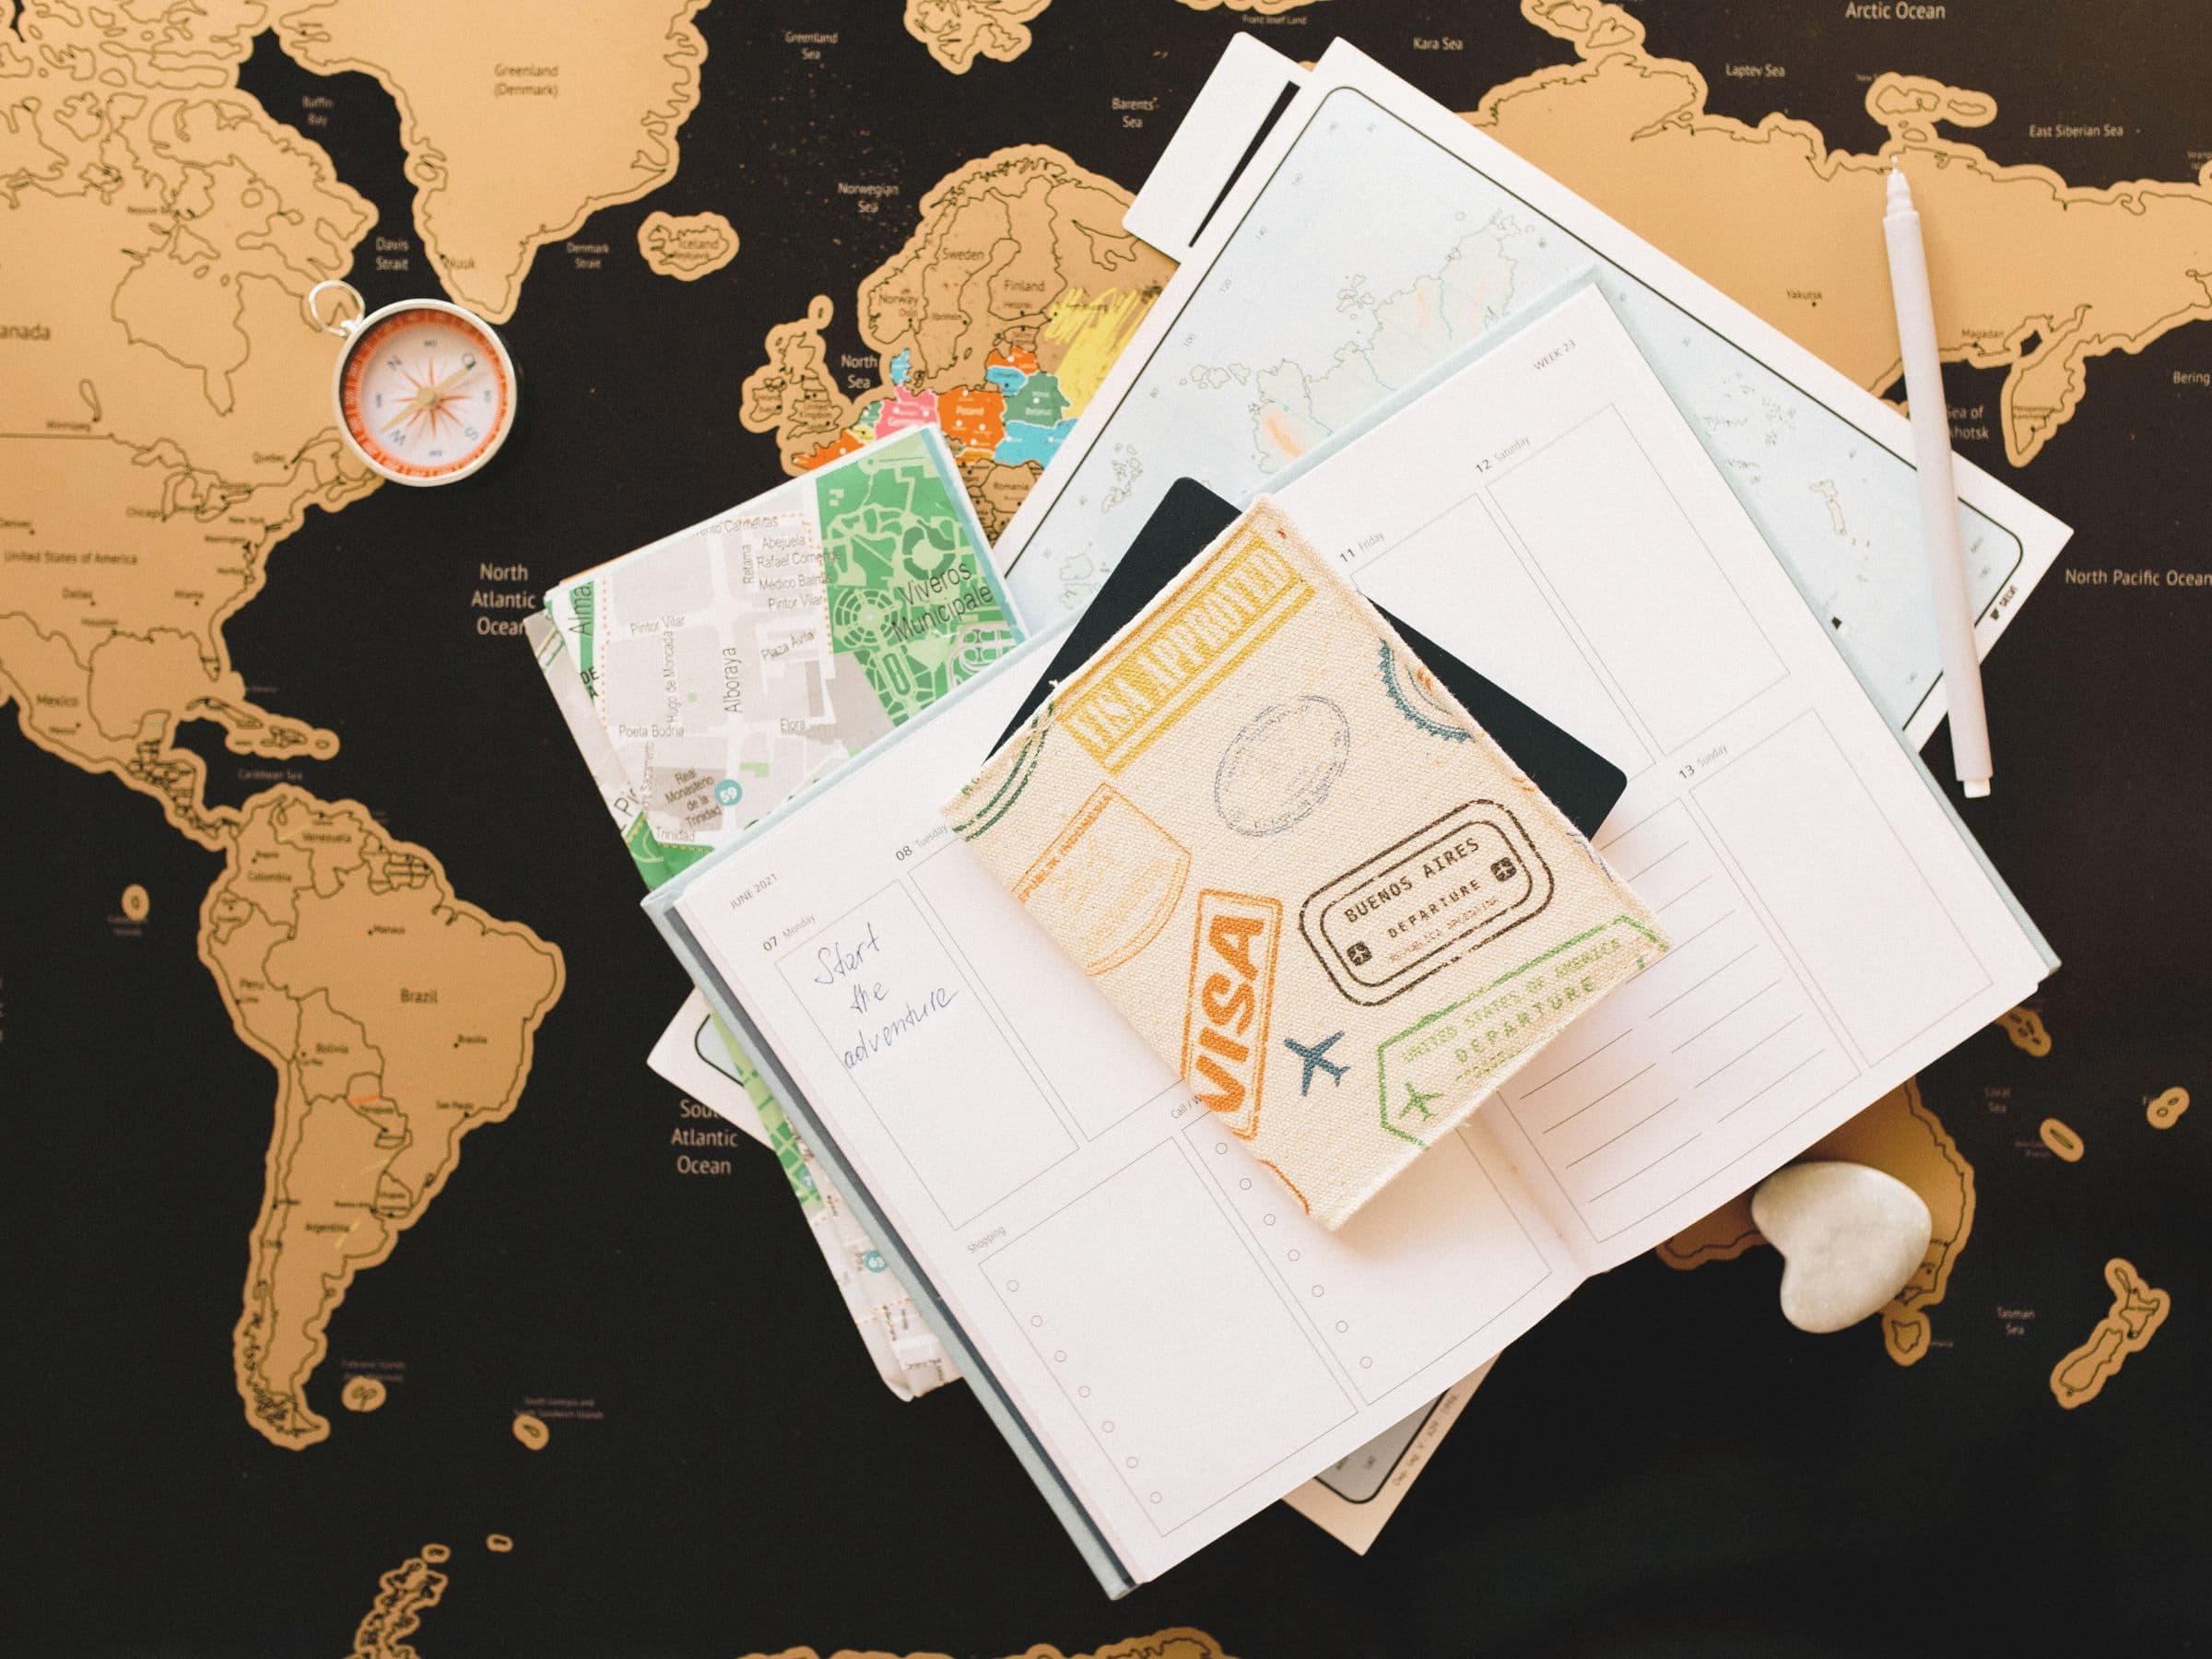
If you love staying organized but prefer a light, easy-to-manage setup, a digital travel planner can be a game-changer. After years of traveling, I realized I needed one central hub to manage everything: flight confirmations, attraction tickets, itineraries, maps, and reminders, all in one place. No more digging through emails or screenshots at the last minute.
While some travelers prefer handwritten journals or spreadsheets, I’ve found that a digital workspace is the most efficient and flexible solution for simple, streamlined trip planning.
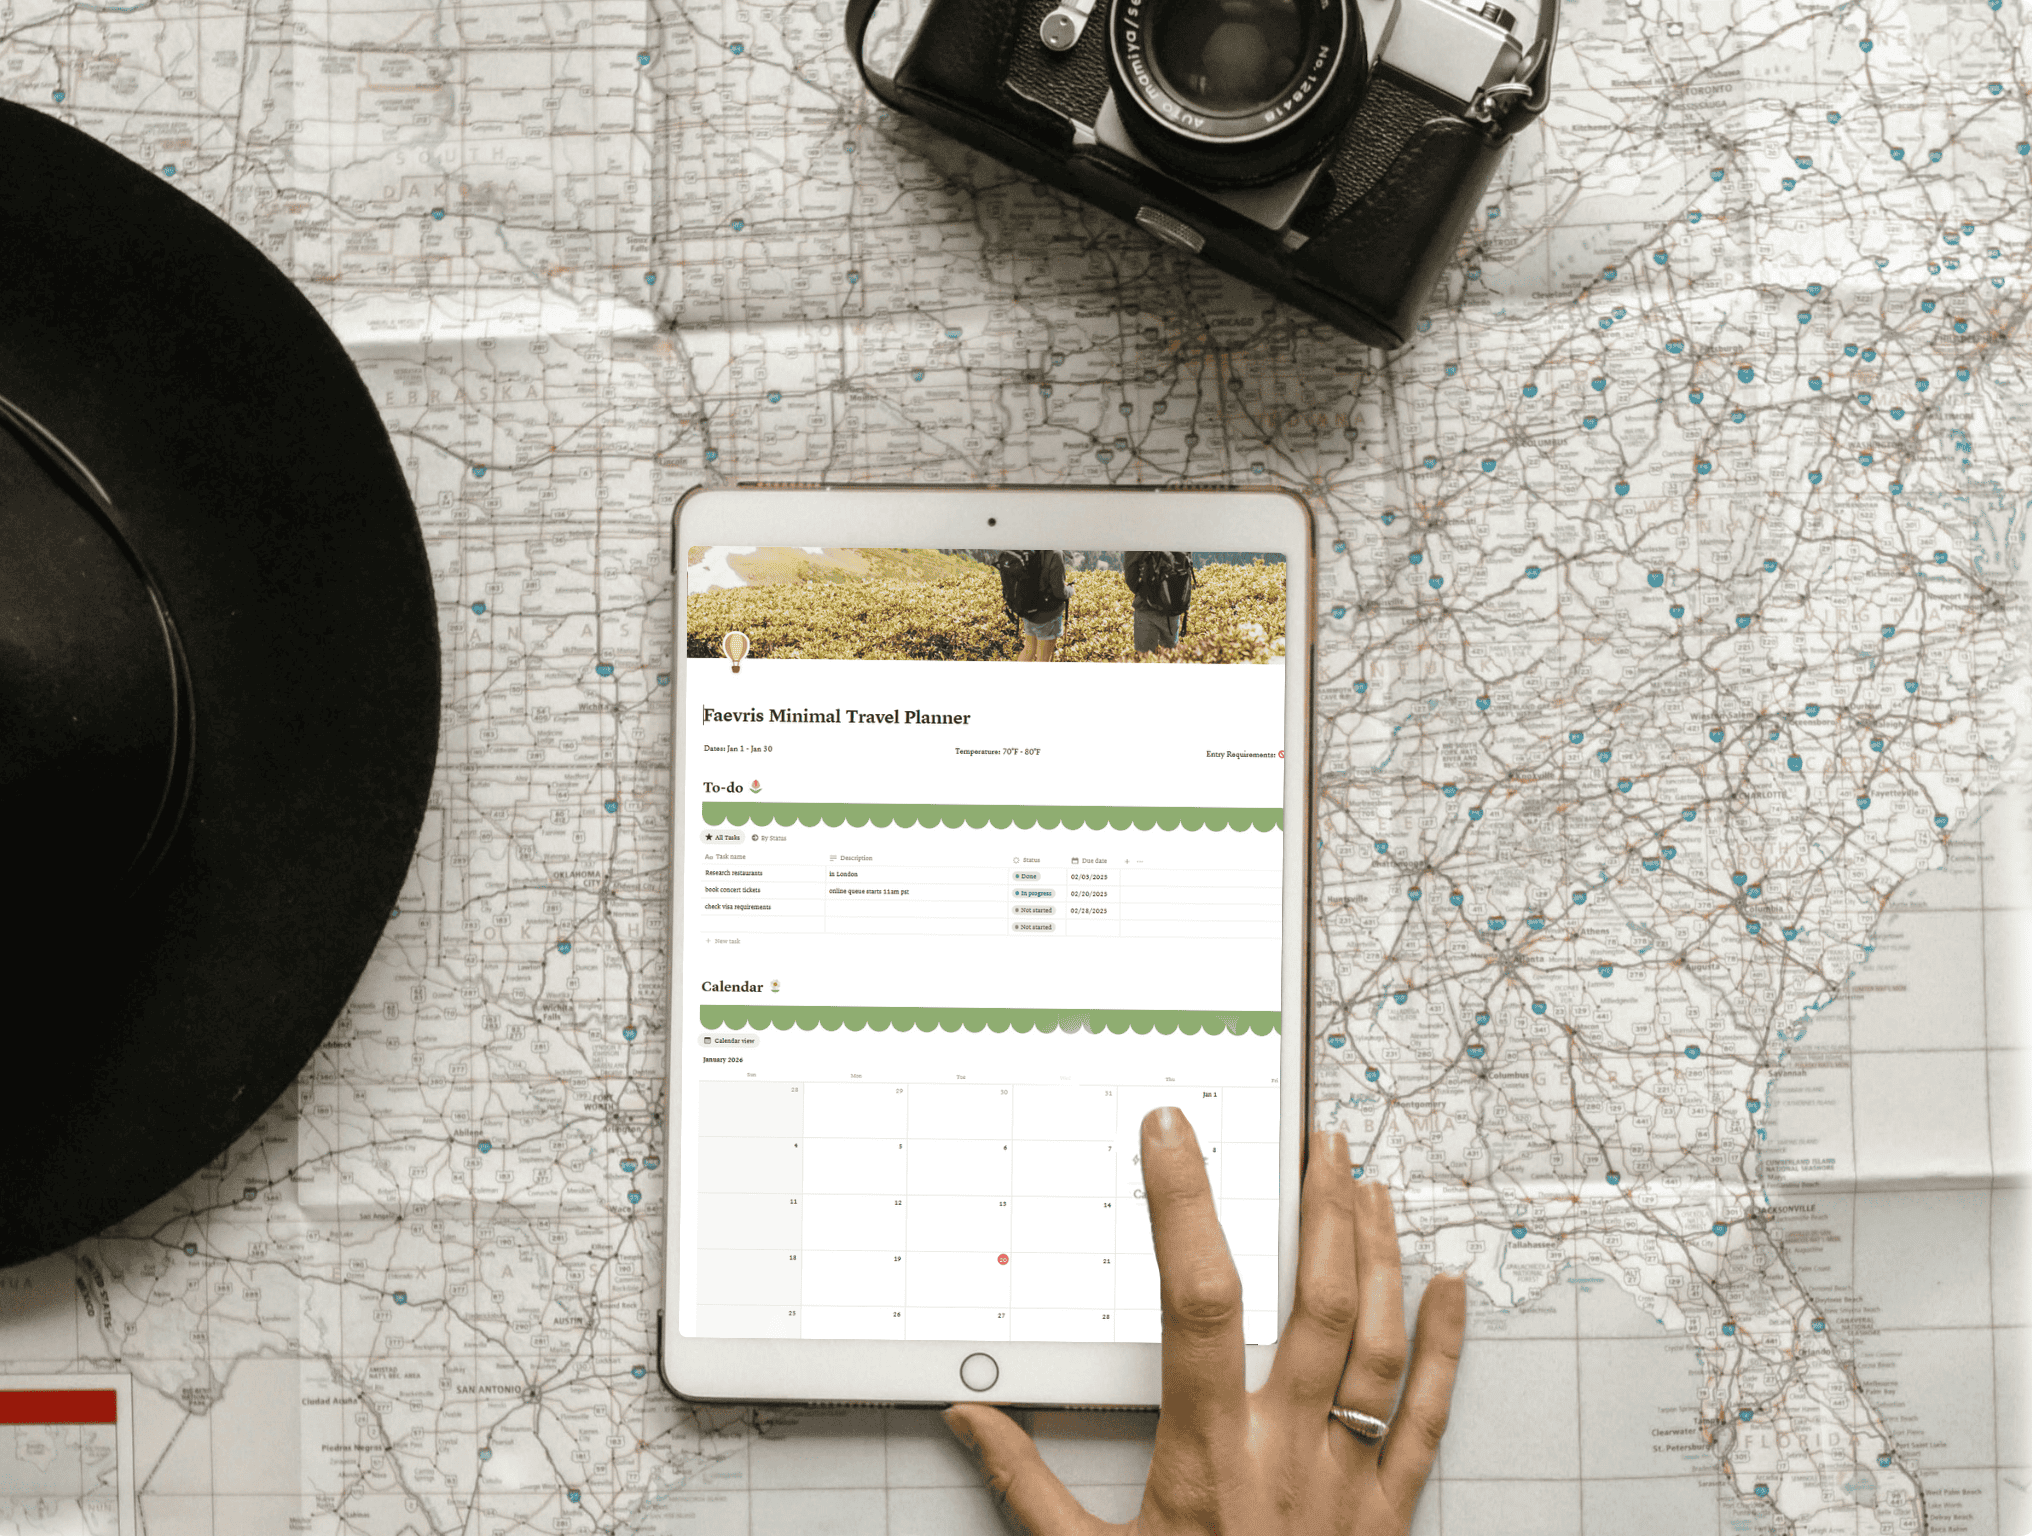
A digital workspace is lightweight, accessible, and adaptable. You can open it on any device, customize it with widgets and images, and easily share it with travel partners. While there are many platforms available, Notion has become my favorite. It’s intuitive, beautifully designed, and completely free.
That’s why I created a Notion Travel Planner Template, designed for travelers who want organization without over complication. After visiting more than 15 countries, I’ve included the sections I find most useful for planning and during the trip itself. Below, you’ll find how to create each section in Notion, or you can use another platform if you prefer.
🗓 Calendar

A visual calendar keeps your itinerary easy to follow, even if you’re not the “hour-by-hour” type of planner. Besides your day-to-day itinerary, use it to track:
Flight times
Event schedules
Important reminders (like booking cancellations or ticket release dates)
In Notion, create one by typing /calendar or embed an existing calendar with /embed. I recommend using Google Calendar, since it automatically syncs with email confirmations and attachments.
How to Manually Connect Emails to Google Calendar

Open the email you want to track.
If you don’t see an “Add to Calendar” option, click the three dots in the top right corner.
Select “Create event” — Google will fill in most details automatically, or you can edit them yourself.
Now you’ll have all your confirmation links, QR codes, and schedules synced in one clean interface.
Calendar Event Page

If using Notion's own calendar, when you create a new event in the calendar, it generates a page where you can store all the details you want to save, from confirmation numbers to notes. These database properties (the data fields at the top of each page) can be customized to display key information in your calendar view. You can also filter, sort, and search within your calendar using these properties.
📍 Google Maps
Want to see all your saved spots in one place? Custom maps help you visualize your trip and adjust plans on the go based on what’s nearby. There were plenty of times during my travels when I felt tired halfway through the day — I’d simply open my saved Google Maps to find a nearby café or attraction I’d already pinned. It’s a huge time saver and helps reduce decision fatigue while exploring.
💡 Pro Tip: Some countries (like South Korea) work better with alternative apps such as Naver Map, which also lets you save locations. Always check which map platform works best for your destination.
Here are two simple ways to create a map:
Option 1: Create a Pins List in the Google Maps App
Good for travelers who want their map handy on their phone while abroad. You can still link your list in your Notion template, but visual embedding isn’t supported for this method.

On your phone, open the Google Maps app and tap “You.”
Tap “+ New List.”
Search for a location and tap “Save” (the bookmark icon) to add it to your new list.
Continue adding pins for restaurants, attractions, hotels, etc.
Option 2: Create a Custom Map in Google My Maps

This version lets you embed the map directly in Notion and customize it with colors and personalized pins. This method is what’s used in the free Notion template.
Go to Google My Maps
Click “Create a new map.”
Search for a location, then click “+ Add to map.” It will appear in your map’s legend.
Customize your map by naming it, creating layers, and adding color-coded pins and icons
Copy the share link and use the
/embedcommand in Notion to display it.
Accessing Your Map on the Go
You can open your custom map through your Notion planner or directly in the Google Maps app:
For Google My Maps: Tap “You” → “Maps” to find your saved custom maps.
For Saved Pin Lists: Tap “You” and scroll to see all your pinned lists — your saved locations will automatically appear on the map.
Offline Maps: Download your maps in advance if you’ll be in areas with limited internet access.
✅ To-Do List

Before your trip, a simple checklist will keep you on track. Add items such as:
Entry requirements or visa applications
Travel insurance
SIM/eSIM setup
Packing or shopping reminders
In Notion, create one easily using the /table command. Alternatively, use Google Calendar’s built-in Tasks feature — this lets you set reminders without cluttering your event calendar.
✨ Get Started with the Minimal Travel Planner
While you can build your own planner from scratch, the key sections — Calendar, Maps, and To-Do — are all you need for effortless organization.
For ultra-minimalists, you can skip Notion entirely and rely solely on Google Calendar and Google Maps for a simple, synced setup.
But if you’re ready to streamline your next adventure, grab my Minimal Digital Travel Planner Template — it’s free, customizable, and perfect for anyone who prefers a clean, intuitive system.

