Do you have extra embroidery thread lying around and want to spend an afternoon making a cozy little art piece with barely any supplies? Don’t know how to embroider? Or are you looking for a kid-friendly craft activity? Why not try making fabric wall art!
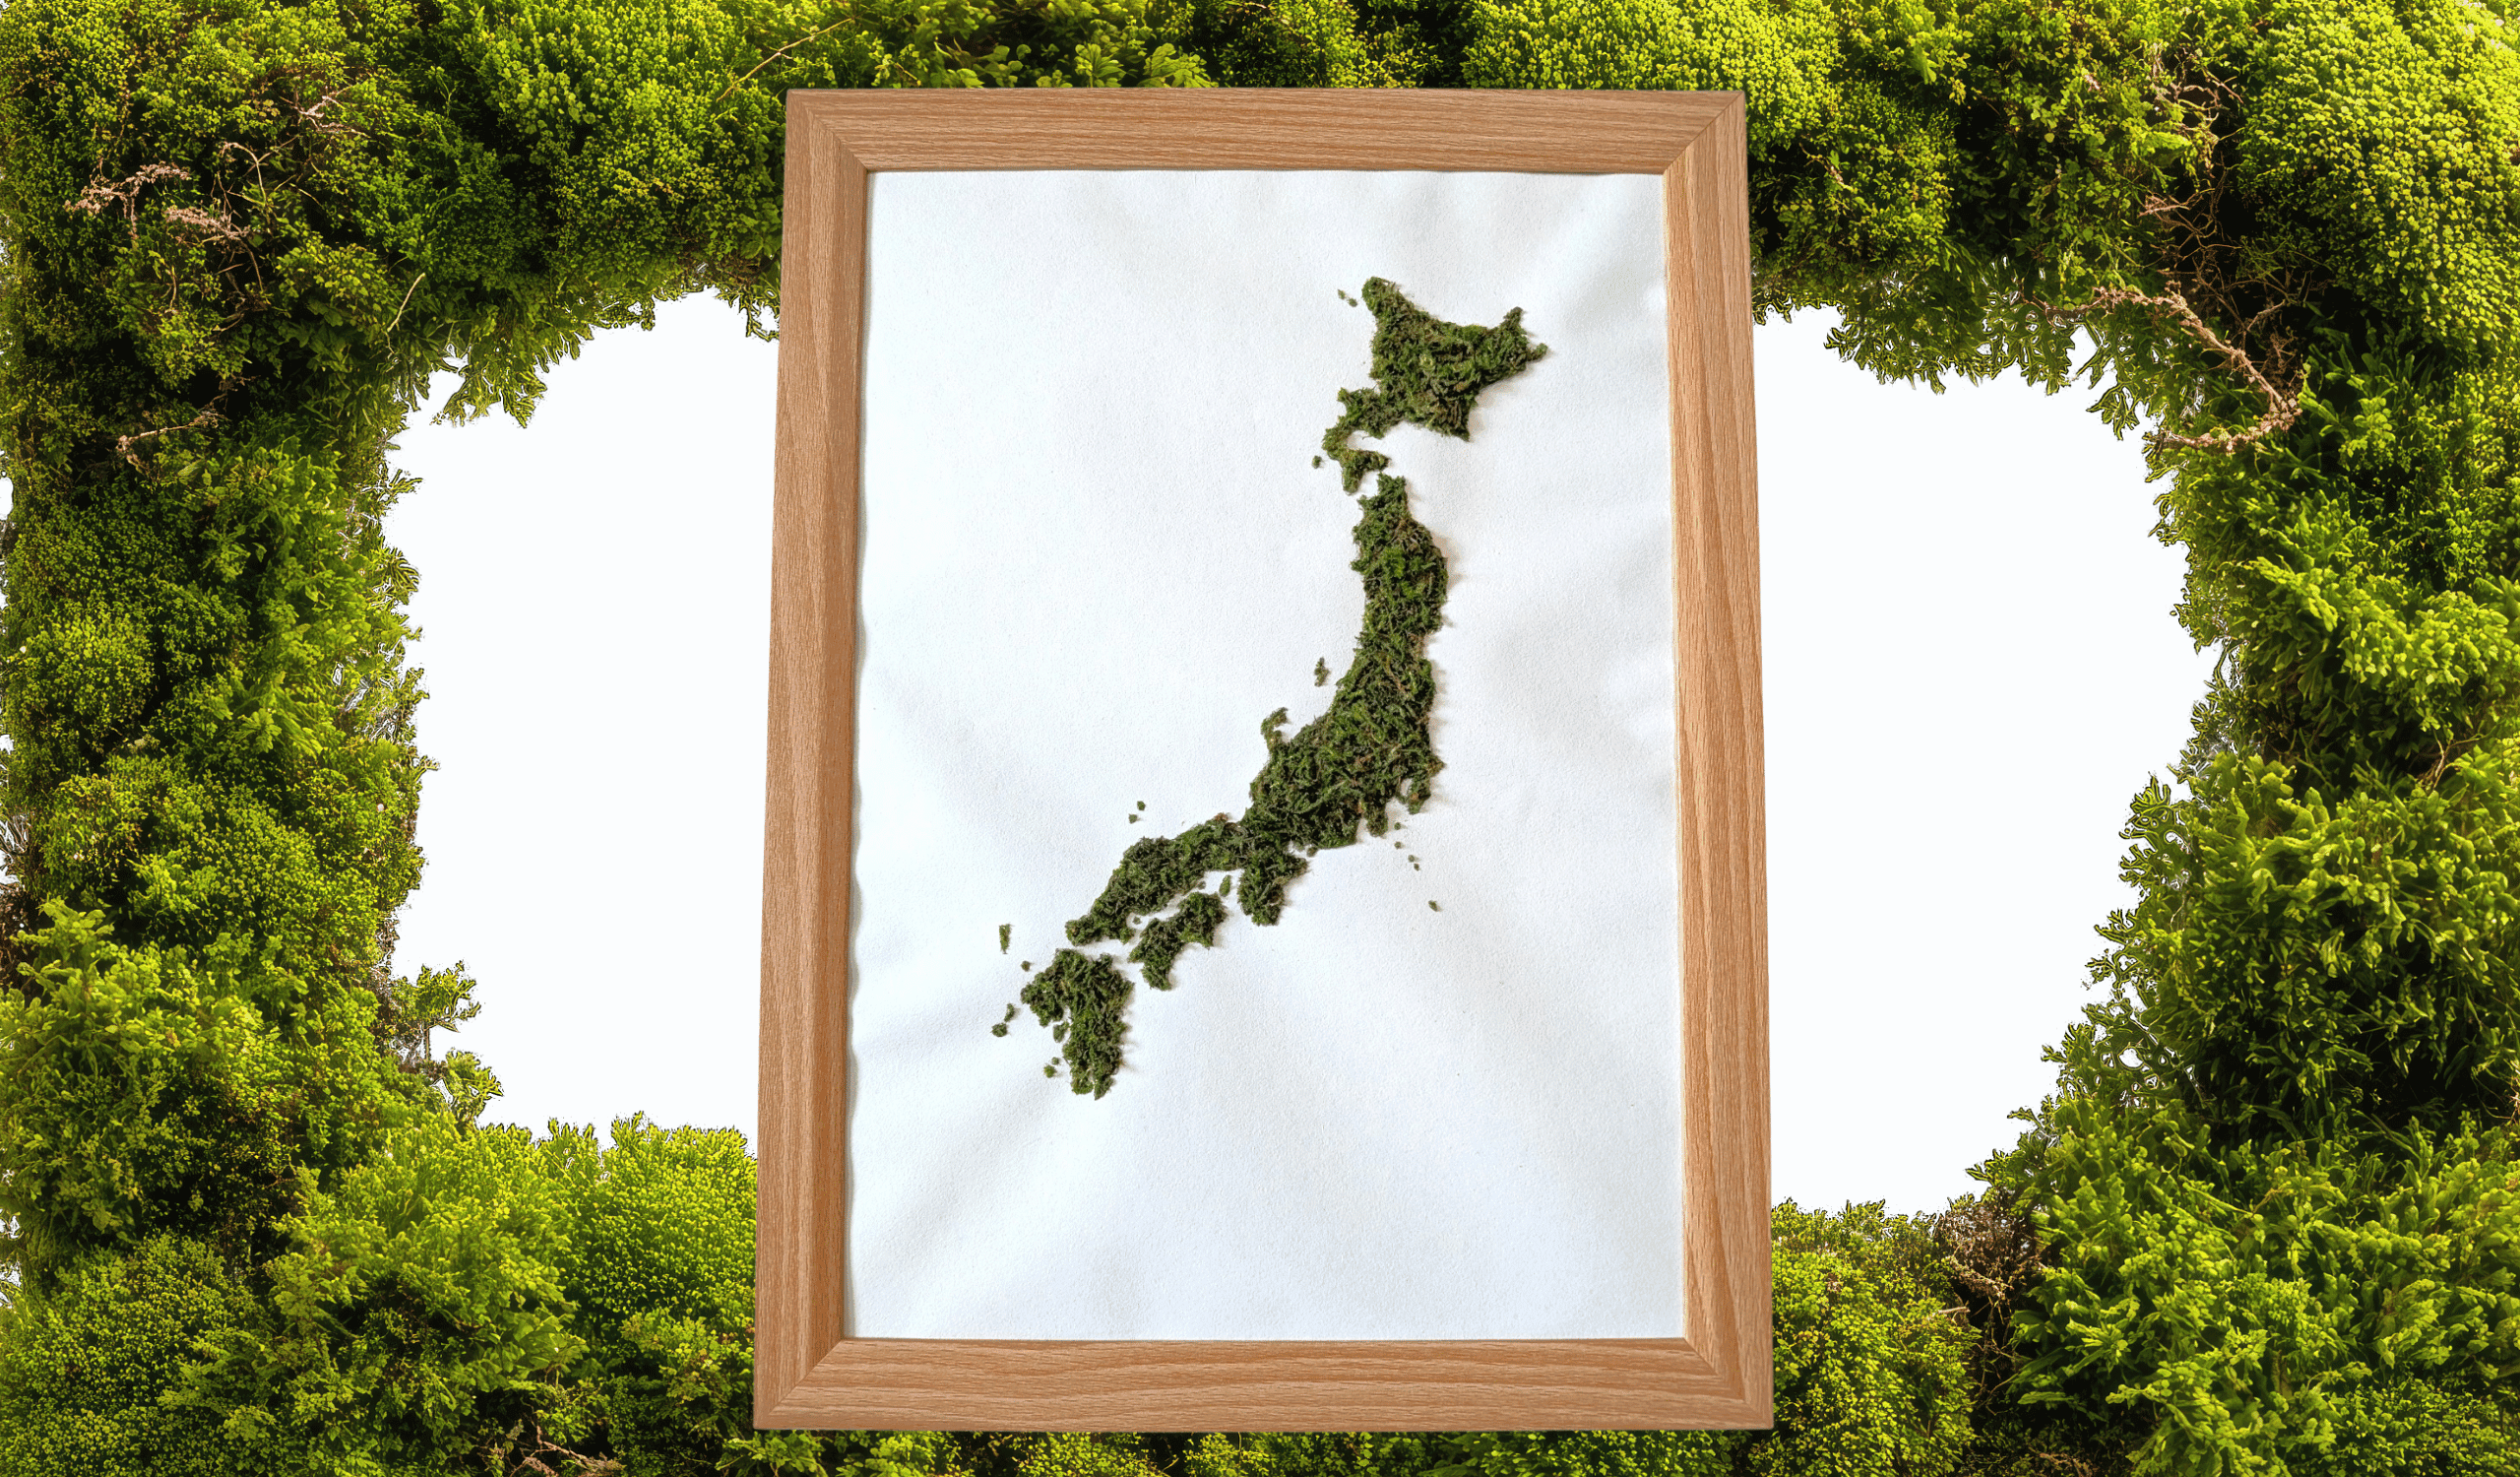
I've been on a bit of a texture art kick since my DIY moss art project, and thread felt like the natural next thing to try.
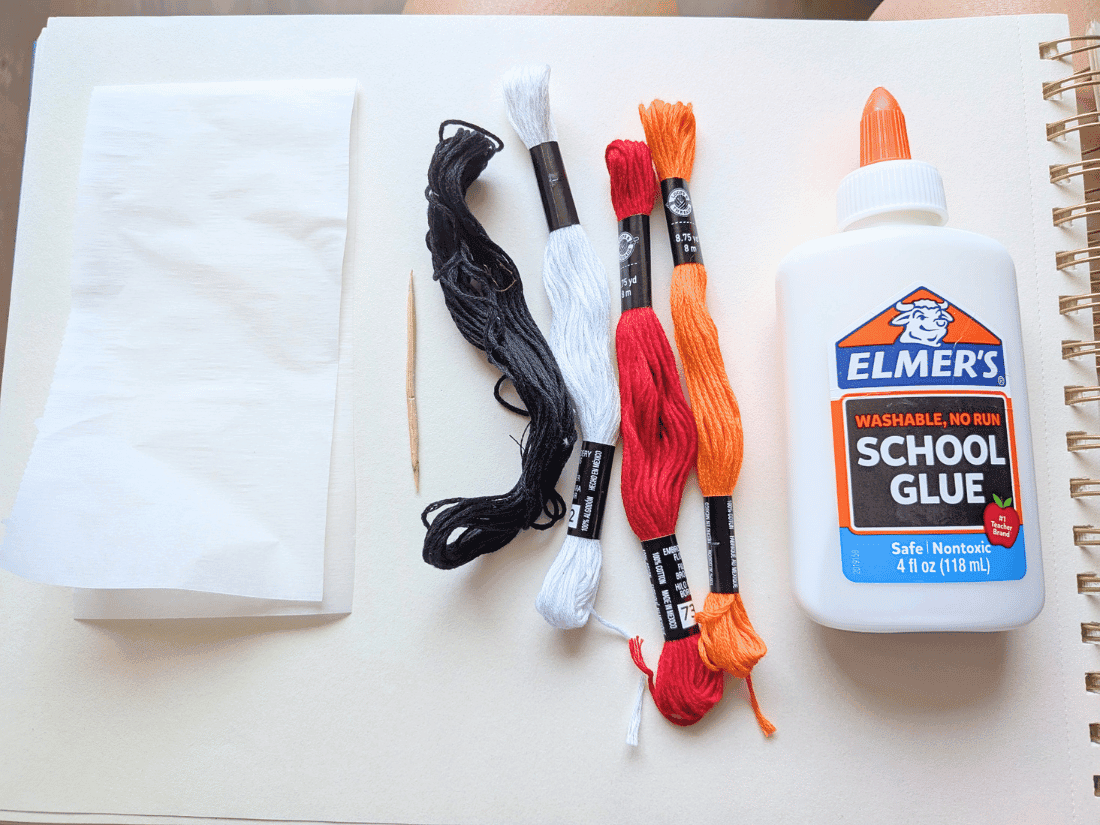
Supplies you'll need
Heavyweight paper
Pencil (if you're drawing your design freehand)
Elmer's glue
Embroidery floss, at least one 8m skein depending on your design size
A toothpick or something similar (like this 1.00mm nail art dotting tool)
Optional:
Parchment paper (so your glue won't dry quickly just pour some onto parchment paper)
A quick note on the paper. I used sketch paper that is thicker than regular computer paper, but I would suggest something like mixed media paper higher than 160 gsm for the right balance of texture and density on projects like this. You want to make sure you prevent paper warping.
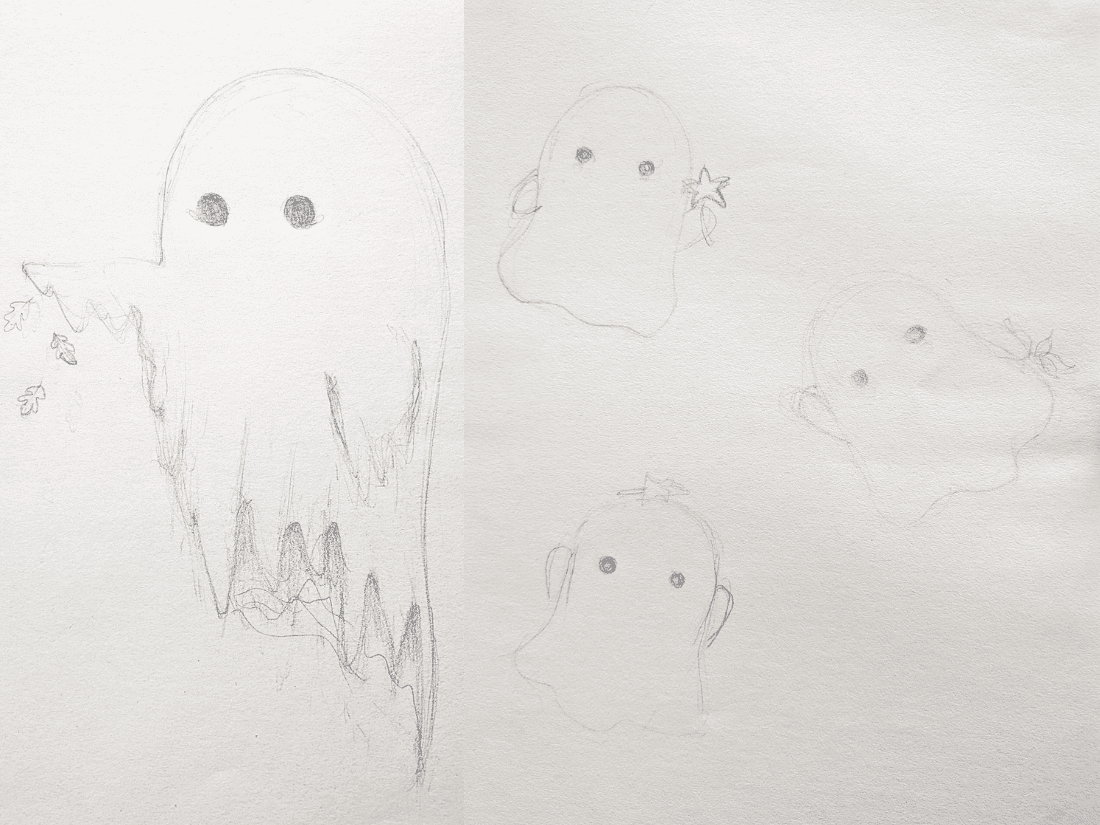
Step 1: Sketch or print your outline
Create the outline of your drawing, or print one out. If drawing, I'd suggest lightly sketching the outline, or matching your pencil color to the thread you're using. That way, if there's any visible gap between thread lines, it won't stand out in a way you don't want.
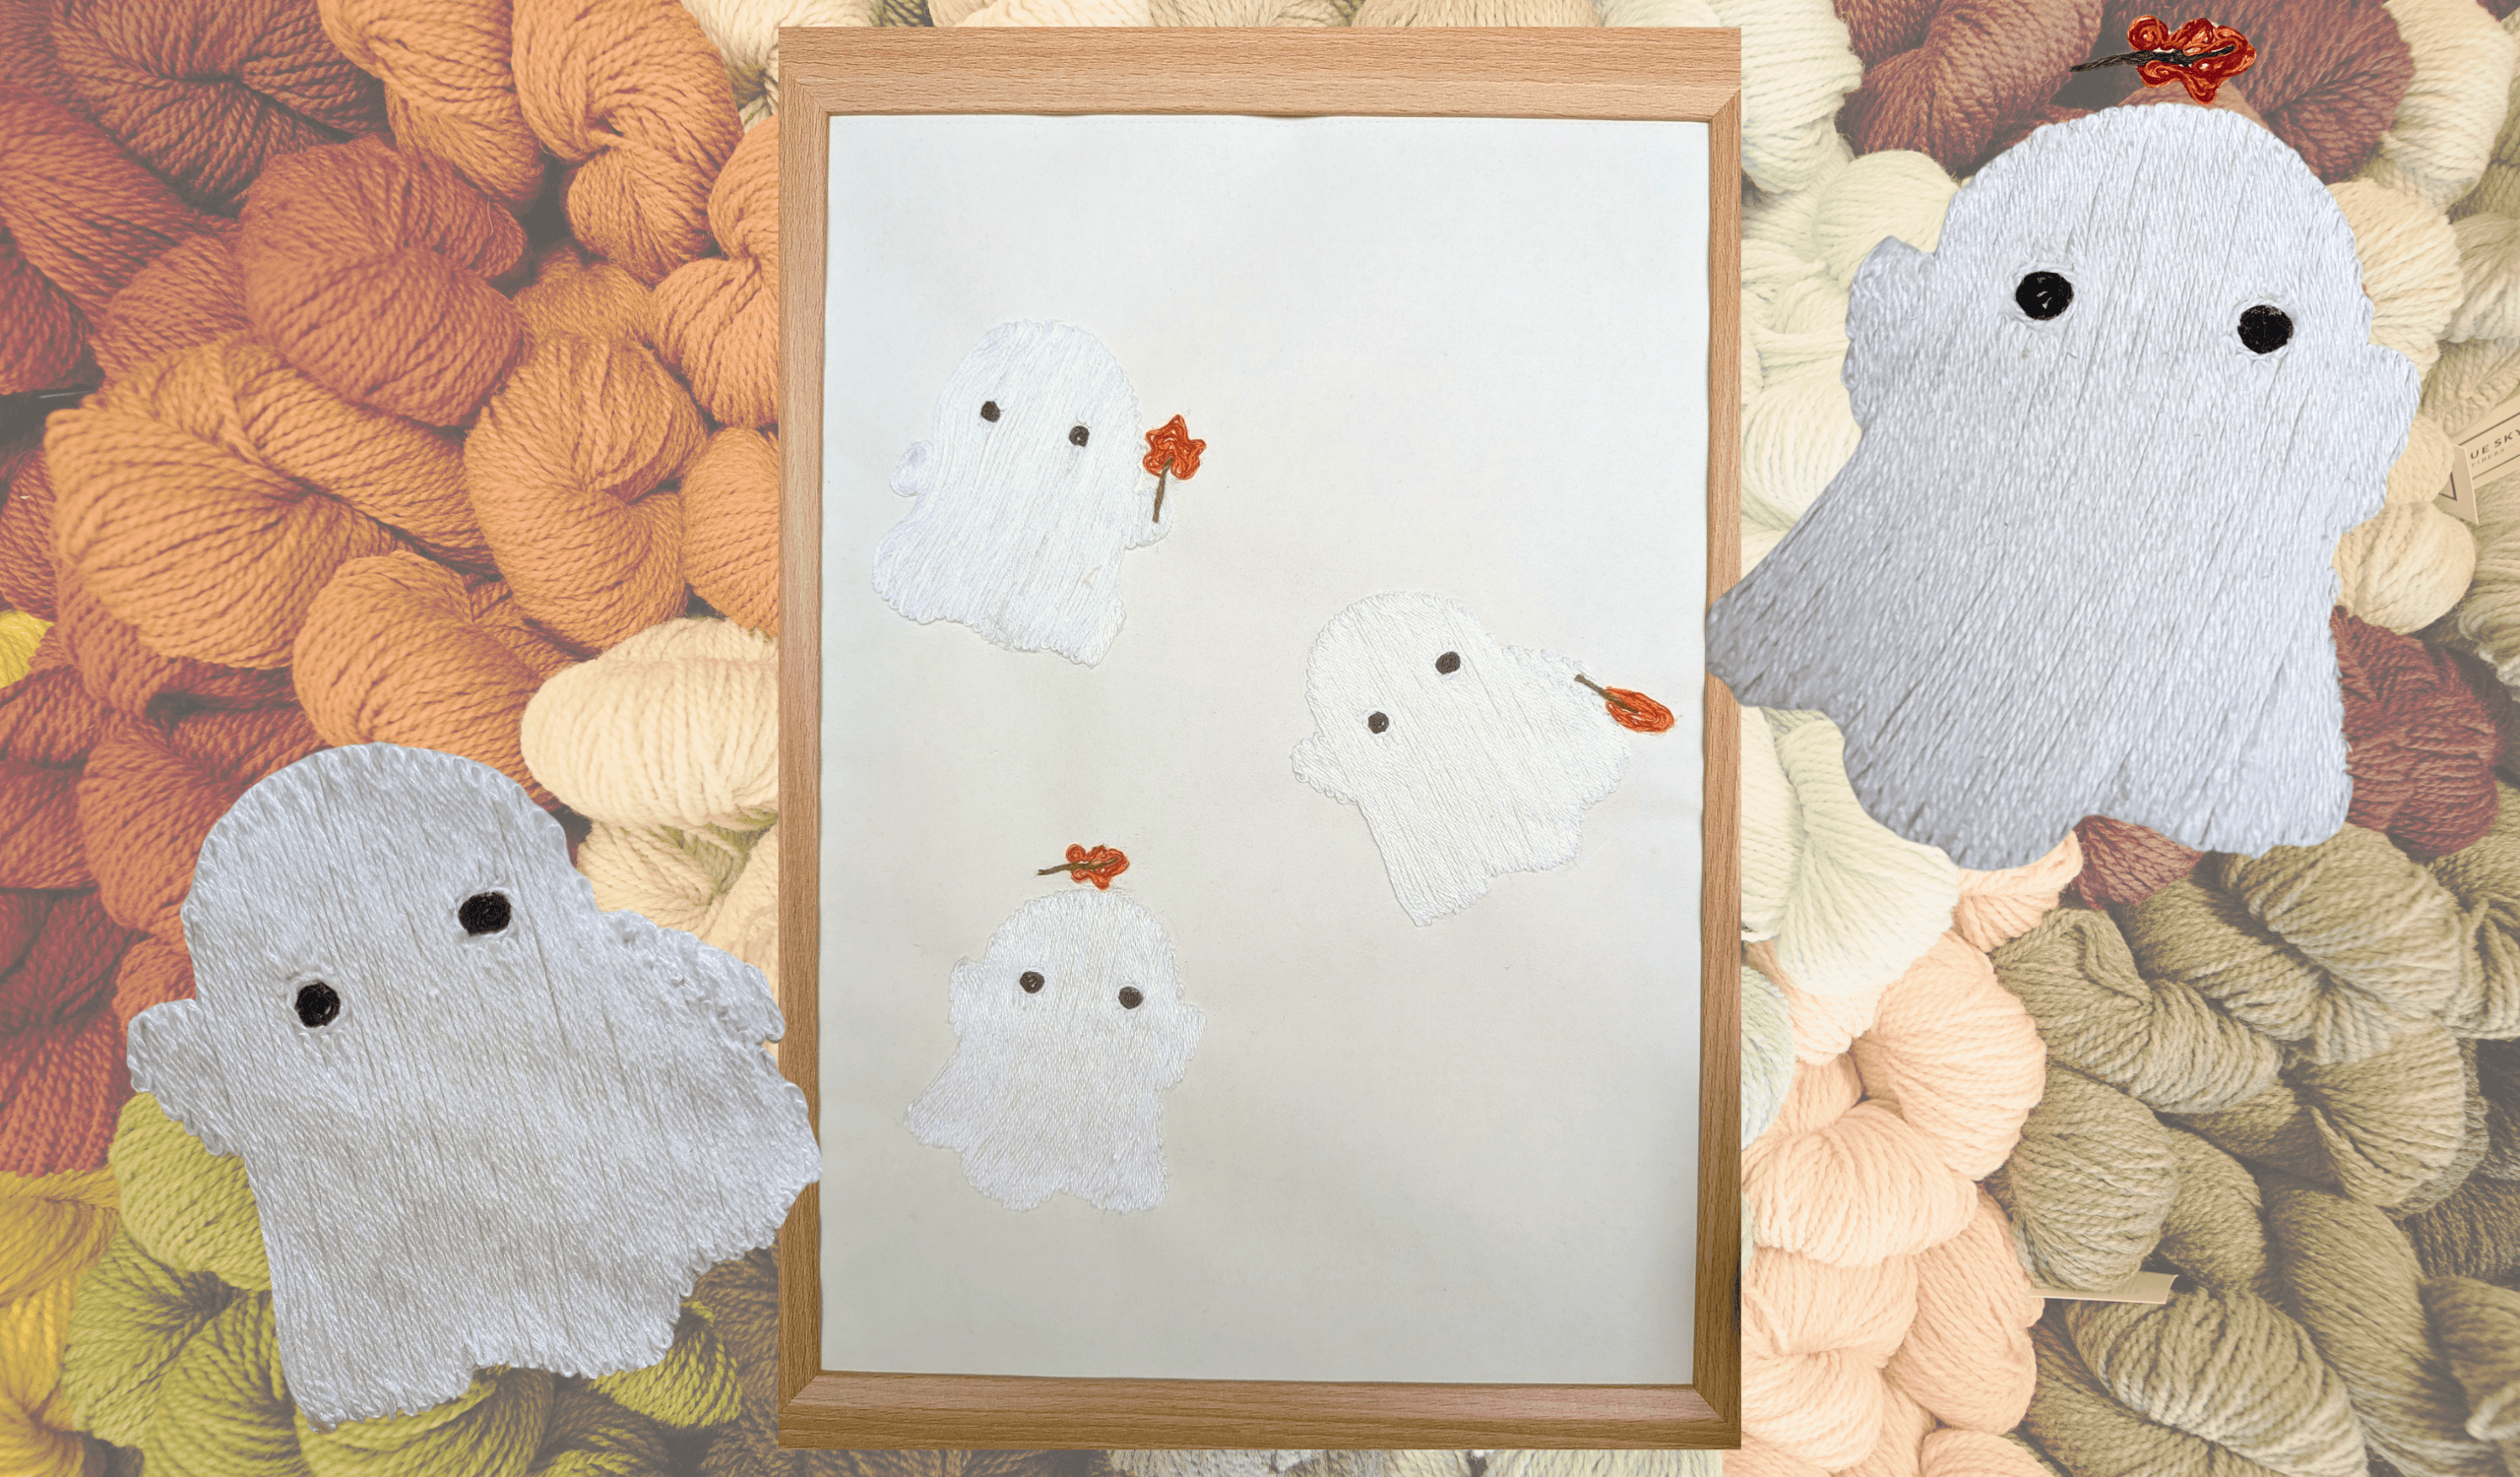
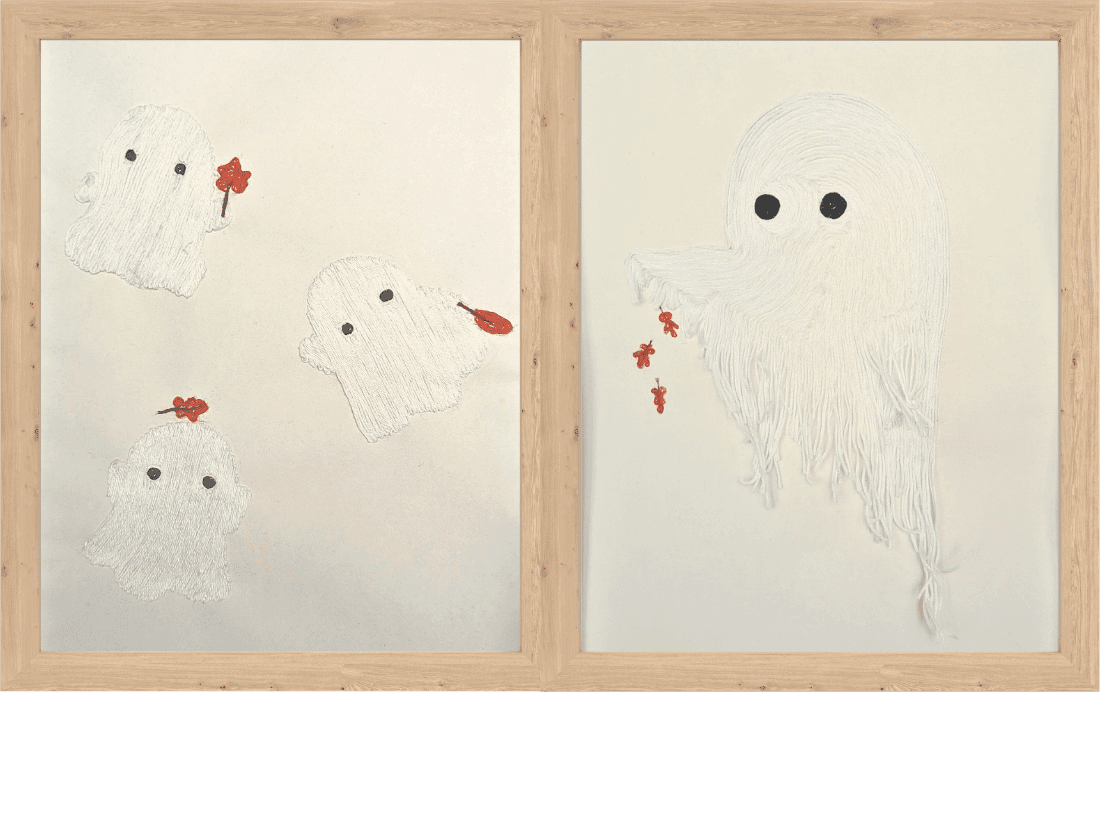
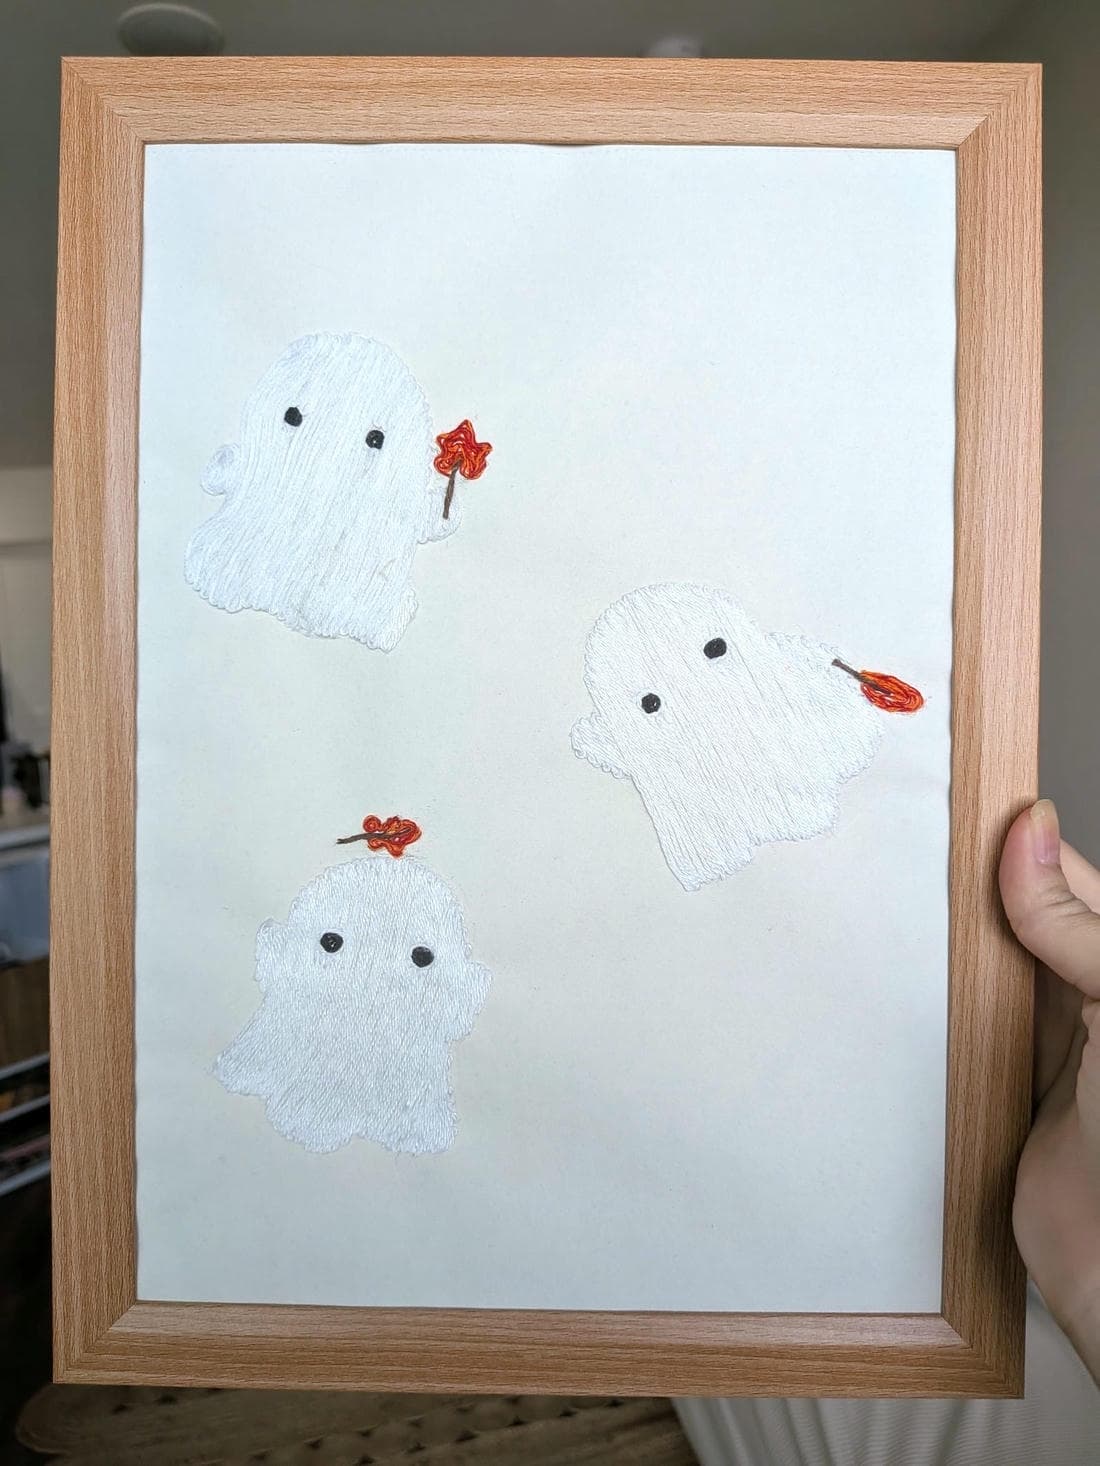
With Halloween coming up and no decor to speak of, I decided to make a ghost with some fall leaves. Bonus goal: see if I could get the ends to hang with loose, trailing thread instead of a clean stitched edge.
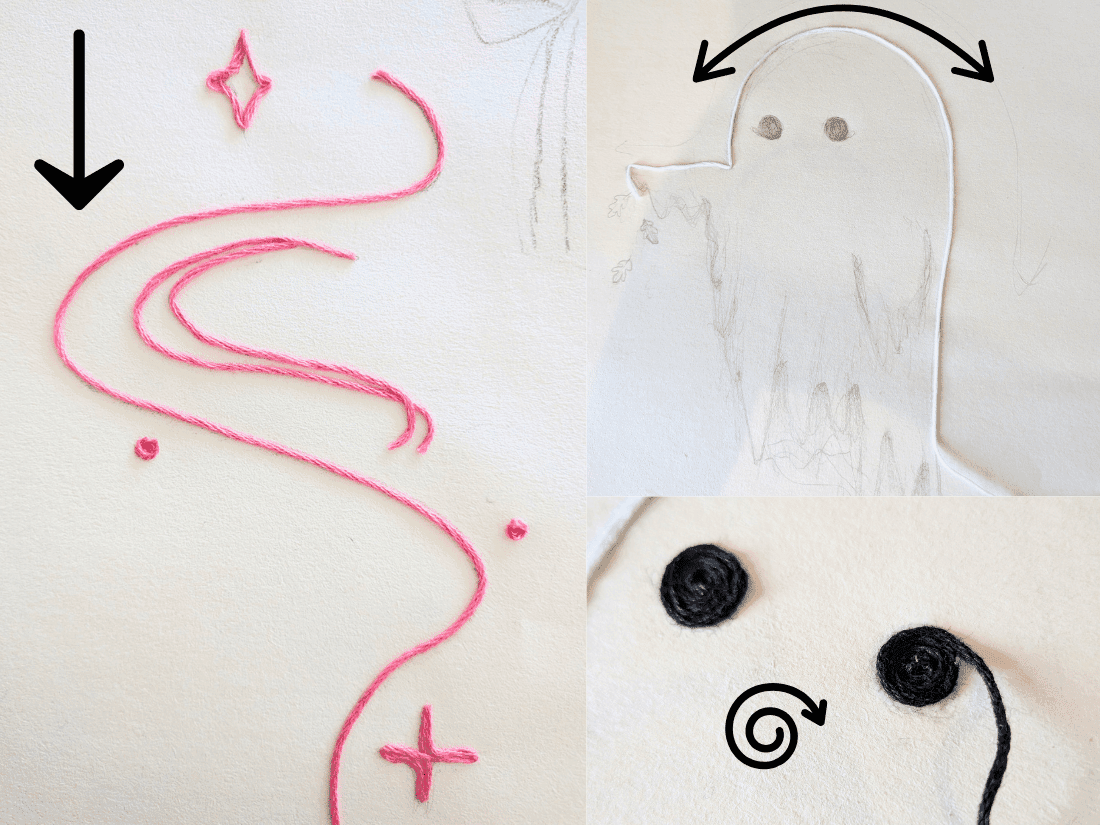
Step 2: Plan your thread path
Before you glue anything, figure out the path you want your string to take. There are numerous ways to go about this. You could start in the center and spiral the thread outward in one continuous direction until you reach the edges of your design. Or you could zigzag back and forth from one side to the other. Or you could go vertical from one side to the other, cutting off pieces of string as you go.
Whichever direction you lay your thread will change the final look of your piece, so it's worth testing on a scrap first if you're unsure.
For my ghosts, I went with an up-down approach, layering thread one row after another. Unlike my trailing ends ghost, I used left to right starting from the top. But for both, I did a circular spiral for the eyes.
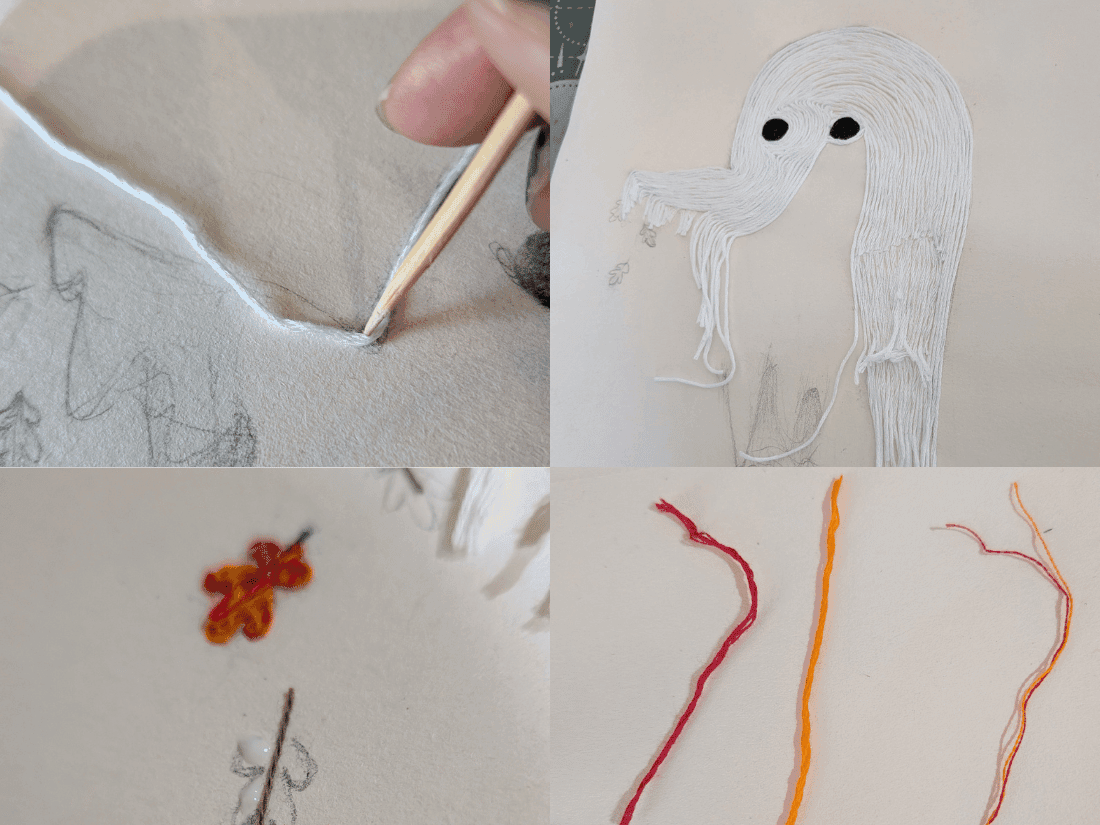
Step 3: Glue and layer
Once you've decided on your path, start gluing the thread down a small amount at a time. I do this by using my toothpick to pick up some glue that's on my parchment paper. Then, using my toothpick, I place a thin line of glue and gently maneuver the thread wherever it needs to go, like around sharp corners or to start a spiral thread pattern.
If you have very fine details in your outline, like small leaves or thin lines, unravel the thread and pull it out into single strands first. For something like a leaf stem, one strand works fine. For a more ombre look for the leaves, twist together two different colored strands before gluing.
Step 4: Finishing touches
That’s it - you’re basically done after gluing and letting it dry. From there, you can add another layer of string on top to make the piece more 3D, or just stick it in a frame and call it a day. Either way, you've got a diy whimsy craft ready for your home decor!
A few notes from making this one:
I used embroidery floss in the standard 8.75 yd / 8m length. Ended up using just under two full skeins for the biggest area, the ghost's body.
Dressmaking shears are a little easier to work with than regular scissors, but regular scissors get the job done fine.
I preferred using non-cotton yarn like viscose or rayon as it seemed to keep its shape better while gluing in comparison to 100% cotton yarn.
If I revisit the dangling thread ends, I'd anchor them differently so they hang the way I originally pictured, instead of leaving it to chance.
Final thoughts
This project is proof you don't need a big supply stash to make something that feels handmade and cozy. A little floss, some paper, and an afternoon gets you there.
Real embroidery is still the better method long-term, since embroidery floss is made for exactly that. But this glue-and-thread version is great if you want something fast, low commitment, and needle-free. That last part makes it a solid pick for kids too.
If you're looking for more diy Halloween decor ideas that lean whimsical instead of spooky, this is a good place to start. And if this one goes well for you, it's an easy jumping off point for other wall art ideas using the same basic technique. Happy crafting!